
As I gazed into my pantry one afternoon, I couldn’t shake the craving for something deliciously portable yet satisfying—enter the enchanting world of Tuna Rice Balls, or Onigiri! Picture this: sticky sushi rice molded into delicate little bites, each brimming with savory tuna and wrapped in crispy nori. Perfect for busy days or as an easy healthy snack, these rice balls not only hit the spot but also open up a delightful avenue to explore culinary creativity.
With a few simple ingredients, you can transform this traditional Japanese food into your favorite on-the-go meal. And don’t worry—if you’re eager to customize, there are endless variations using different types of rice or filling options. Trust me, once you discover the best rice for your rice balls, you’ll want to whip these up regularly, whether for lunch or as a fun appetizer at your next gathering. Let’s dive in and make this deliciousness happen!
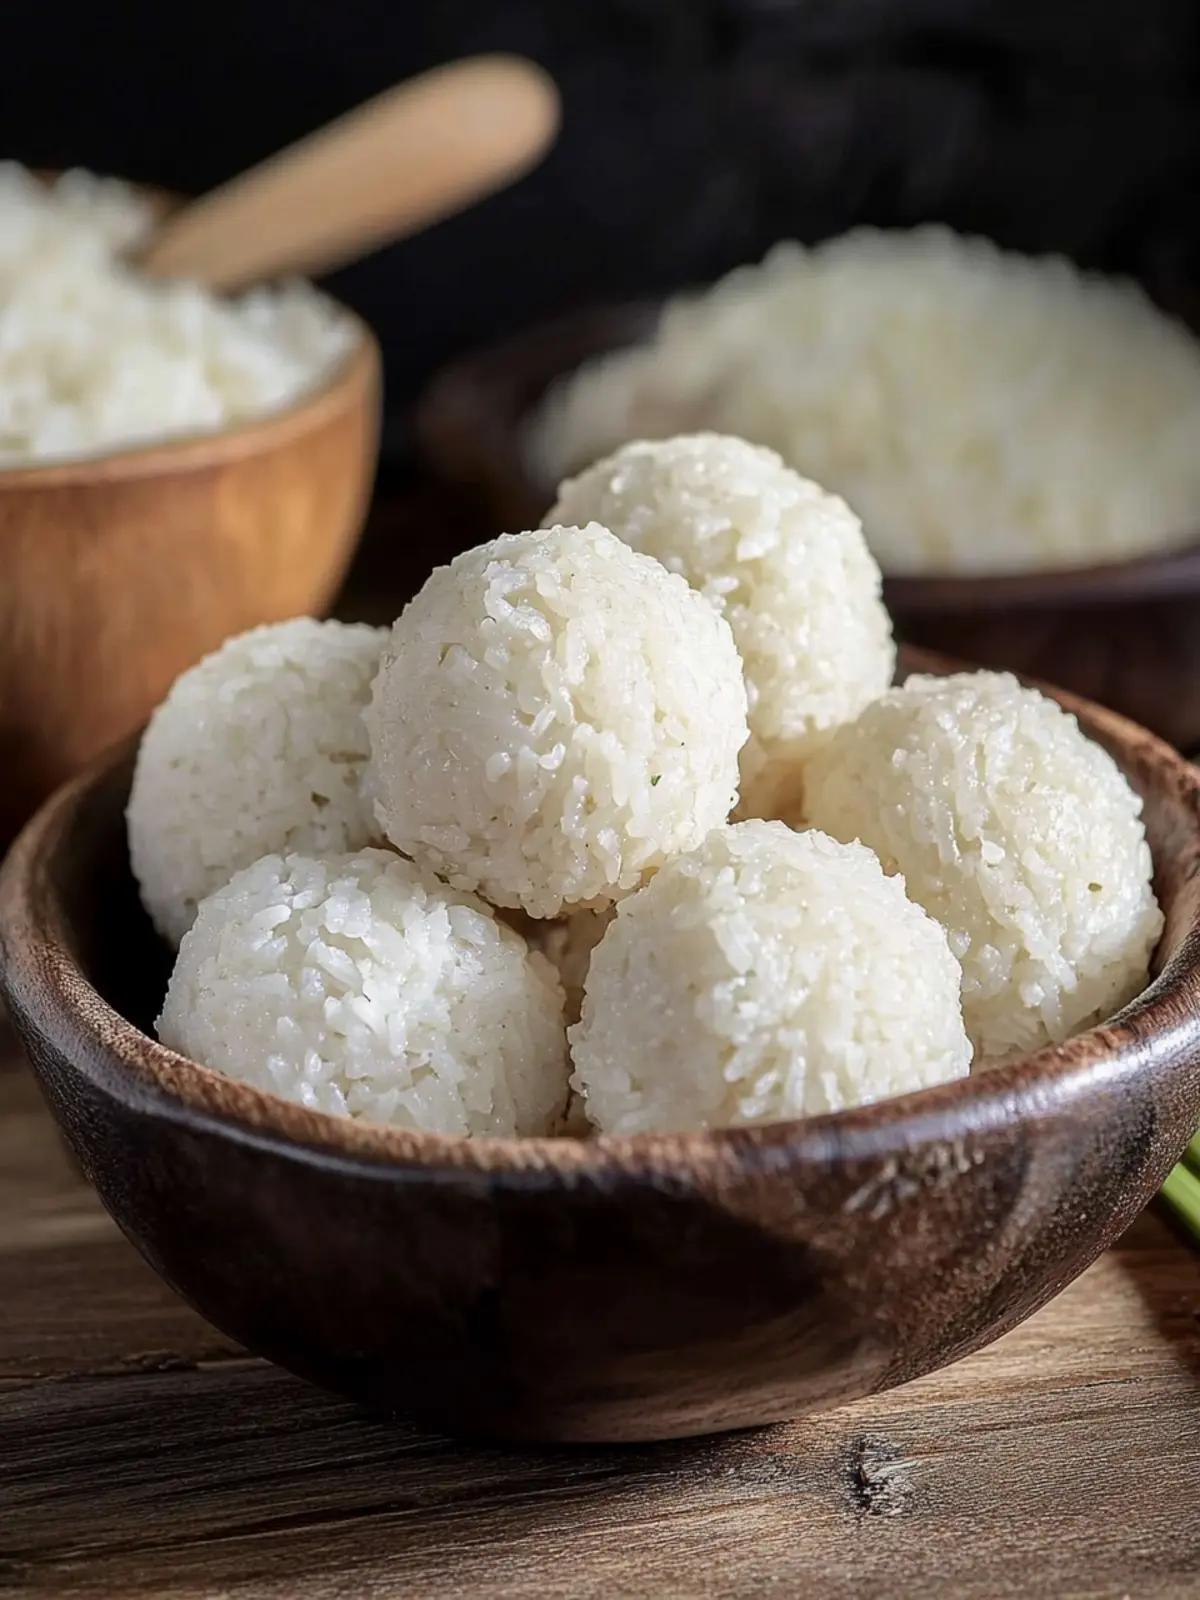
What’s the best rice for rice balls?
Quality rice is essential for crafting perfect Tuna Rice Balls. The ideal choice is Japanese short-grain rice, known for its sticky texture that helps the rice balls hold their shape and flavor. Versatile options like brown rice or jasmine can also work, providing unique flavors and textures. Customization is key; feel free to switch up fillings, from tuna to tofu, ensuring healthier snacking without sacrificing taste. Finally, embracing this simple recipe can make your meal prep not only easier but also tastier! Want to explore more options? Check out the different variations of rice to create your delicious rice balls!
Best Rice for Rice Balls
• The type of rice you choose can truly elevate your Tuna Rice Balls experience!
For the Base
- Japanese Short-Grain Rice – This is the top choice for that perfect sticky texture essential in forming cohesive rice balls.
- Brown Rice – A nutritious alternative that adds a nutty flavor; just note it may require longer cooking time.
- Sushi Rice – This blend of short-grain rice is seasoned perfectly for an authentic taste; it pairs beautifully with savory fillings.
For Gluten-Free Options
- Gluten-Free Rice Blends – Available options provide similar sticky qualities for rice balls; just ensure they have a similar starch content.
For Flavor Variations
- Jasmine Rice – While not traditionally used, this fragrant rice offers a unique twist; its light texture makes for a delightful change.
- Wild Rice – Coupled with other rice types, it can add a chewy texture and earthy flavor to your mix.
By using the best rice for rice balls, you’ll create not just a meal, but a flavorful adventure every time!
Tips for Perfect Tuna Rice Balls
-
Choose Your Rice: Select Japanese short-grain rice to achieve that classic stickiness. Rinse it thoroughly until the water is clear—this step is magic for texture!
-
Cook the Rice: Cook the rice according to package instructions. Ensure it’s tender yet sticky, enhancing the structural integrity essential for your rice balls.
-
Season to Perfection: Once the rice is cooked, mix in 1-2 tablespoons of rice vinegar and a pinch of salt while it’s still warm. This adds depth of flavor and helps the rice clump beautifully.
-
Master the Shaping Technique: Wet your hands to avoid sticking and gently scoop a handful of rice. Flatten it slightly and place your savory filling, then mold it into a ball shape with a soft yet firm pressure.
-
Wrap It Up: If you’re using nori, cut it into strips and wrap it around the rice ball to add a delightful crunch and additional flavor.
-
Enjoy It Fresh or Right Away: These rice balls are best enjoyed at room temperature or slightly chilled. However, they can be stored in the fridge for up to 2 days, making them a perfect make-ahead treat!
Optional: Serve alongside soy sauce for a flavor boost!
Exact quantities are listed in the recipe card below.

Make Ahead Options
These Tuna Rice Balls are perfect for busy home cooks looking to streamline meal prep! You can prepare the rice up to 24 hours in advance—simply cook it as directed, season with rice vinegar and salt, then let it cool completely before storing it in an airtight container in the fridge. The tuna filling can also be mixed ahead of time and kept in the refrigerator for up to 3 days. To maintain the delicious quality of the rice balls, shape them just before serving. When you’re ready to enjoy, mold the prepped rice into balls with the filling and wrap them in nori. This way, you’ll have a quick and satisfying meal ready to go whenever you need it!
Tips for Perfect Tuna Rice Balls
-
Choose Your Rice: Select Japanese short-grain rice to achieve that classic stickiness. Rinse it thoroughly until the water is clear—this step is essential for texture!
-
Cook Correctly: Follow package instructions closely. Undercooked rice won’t hold shape, while overcooked rice will become mushy—neither is ideal for your rice balls!
-
Season to Perfection: Mix in 1-2 tablespoons of rice vinegar and a pinch of salt while the rice is still warm. This enhances flavor and clumping, ensuring the best rice for rice balls.
-
Master the Shaping: Wet your hands to prevent sticking. Scoop a handful of rice, flatten it slightly, and incorporate your filling before molding it into a ball with gentle pressure.
-
Wrap It Up: If using nori, cut it into strips and wrap it around the rice ball to add a delightful crunch. Avoid overcrowding the filling to maintain shape!
-
Serve Fresh: Enjoy rice balls at room temperature or chilled. For optimal taste, consume within 2 days if refrigerated.
Best Rice for Rice Balls
Customize your Tuna Rice Balls with delightful alternatives to find the perfect match for your taste buds!
-
Japanese Short-Grain Rice: This is the gold standard for onigiri; its sticky nature keeps rice balls perfectly shaped and delicious.
-
Brown Rice: A wholesome substitute, it adds a nutty flavor, although it might require a little extra cooking time to achieve the right texture.
-
Sushi Rice: Pre-seasoned and short-grain, it effortlessly elevates the taste while maintaining that satisfyingly sticky consistency.
-
Gluten-Free Rice Blends: Seek out specially formulated blends that mimic the sticky properties of traditional options, ensuring no one misses out on this delicious treat!
-
Jasmine Rice: Sweet and aromatic, this rice introduces a fragrant twist to your onigiri—great for venturing into new flavor territories!
-
Wild Rice Combo: Integrating wild rice with other grains yields a chewy bite and earthy flavor that adds depth to your rice balls.
-
Cauliflower Rice: For a lower-carb option, use riced cauliflower; this twist offers a fresh base ready for flavorful fillings while keeping it light.
-
Quinoa: A protein-packed choice, quinoa brings a nutty flavor and unique texture, perfect for adventurous eaters looking for healthy alternatives.
Experiment away and discover the best rice for your rice balls, making each bite a tasty adventure!
How to Store and Freeze Tuna Rice Balls
-
Fridge: Tuna rice balls can be stored in an airtight container for up to 2 days. Enjoy them cold or at room temperature for the best flavor.
-
Freezer: If you want to freeze them, wrap each rice ball tightly in plastic wrap and place in a freezer-safe bag. They can last up to 3 months; just thaw in the fridge overnight before serving.
-
Reheating: To reheat, microwave the rice balls for 15-30 seconds until warmed through. Alternatively, steam them for a softer texture while preserving moisture.
-
Tips for Freshness: For optimal taste and texture, consume the best rice for rice balls fresh. If refrigerating, consider omitting nori until ready to serve to maintain its crispness.
What to Serve with 5-Ingredient Tuna Rice Balls: Quick and Easy Onigiri?
Elevate your meal experience with delightful pairings that complement the delectable flavors of your rice balls.
-
Soy Sauce:
A classic addition, its salty depth enhances the tender, savory filling of the rice balls. -
Pickled Vegetables:
The tanginess adds a refreshing crunch that contrasts beautifully with the chewy texture of the onigiri. -
Seaweed Salad:
This light, umami-rich dish pairs well, offering a burst of flavor and contrasting texture to your snack. -
Asian Slaw:
Crunchy and vibrant, a slaw made of cabbage and carrots with sesame dressing adds brightness and balance. -
Miso Soup:
A warm bowl of miso soup with tofu and seaweed provides a comforting, savory backdrop to your meal. -
Sushi Rolls:
Serve these delightful rolls alongside for a complete sushi experience, with added variety. -
Fruit Skewers:
Fresh fruits like melon, pineapple, or strawberries create a sweet finish that cleanses the palate. -
Green Tea:
Light and fragrant, this drink enhances the flavors of your onigiri while promoting a refreshing dining experience. -
Ice Cream:
Wrap up with a scoop of green tea or mochi ice cream for a delightful sweet contrast after your savory treats.

Best Rice for Rice Balls Recipe FAQs
What type of rice is best for making Tuna Rice Balls?
Absolutely! The best rice for rice balls is Japanese short-grain rice due to its sticky texture that helps the rice hold its shape beautifully. You can also consider sushi rice, which is seasoned perfectly for flavor. For a healthier option, brown rice can be used, but remember to adjust the cooking time as it requires longer to become tender.
How should I store my Tuna Rice Balls?
Tuna rice balls can be stored in the refrigerator for up to 2 days. Place them in an airtight container to keep them fresh. I often enjoy them cold or at room temperature, as they retain their flavors well when served this way.
Can I freeze Tuna Rice Balls?
Yes, you can definitely freeze Tuna Rice Balls! Wrap each rice ball tightly in plastic wrap and place them in a freezer-safe bag. They can last for up to 3 months in the freezer. Just make sure to thaw them in the fridge overnight before enjoying again.
What should I do if my rice balls fall apart?
If your rice balls are not holding together, it’s usually due to either undercooked or overcooked rice. Make sure to rinse the rice thoroughly until the water is clear, and cook according to the package instructions. If the rice seems too dry, adding a little bit of water can help make it stickier.
Are Tuna Rice Balls safe for kids or individuals with allergies?
Yes, Tuna Rice Balls can be a delightful dish for kids! However, always verify for any allergies to ingredients like tuna or nori. As a gluten-free statement, if you’re opting for a gluten-free rice blend, double-check that all your ingredients comply with those dietary needs to ensure everyone’s safety.
How should I prepare Tuna Rice Balls ahead of time for a gathering?
For an easy meal prep, prepare the rice the night before and allow it to cool completely. You can shape the balls right before serving to ensure they stay fresh. Just remember to omit wrapping them in nori until you’re ready to serve, as this keeps the nori crisp and enjoyable.
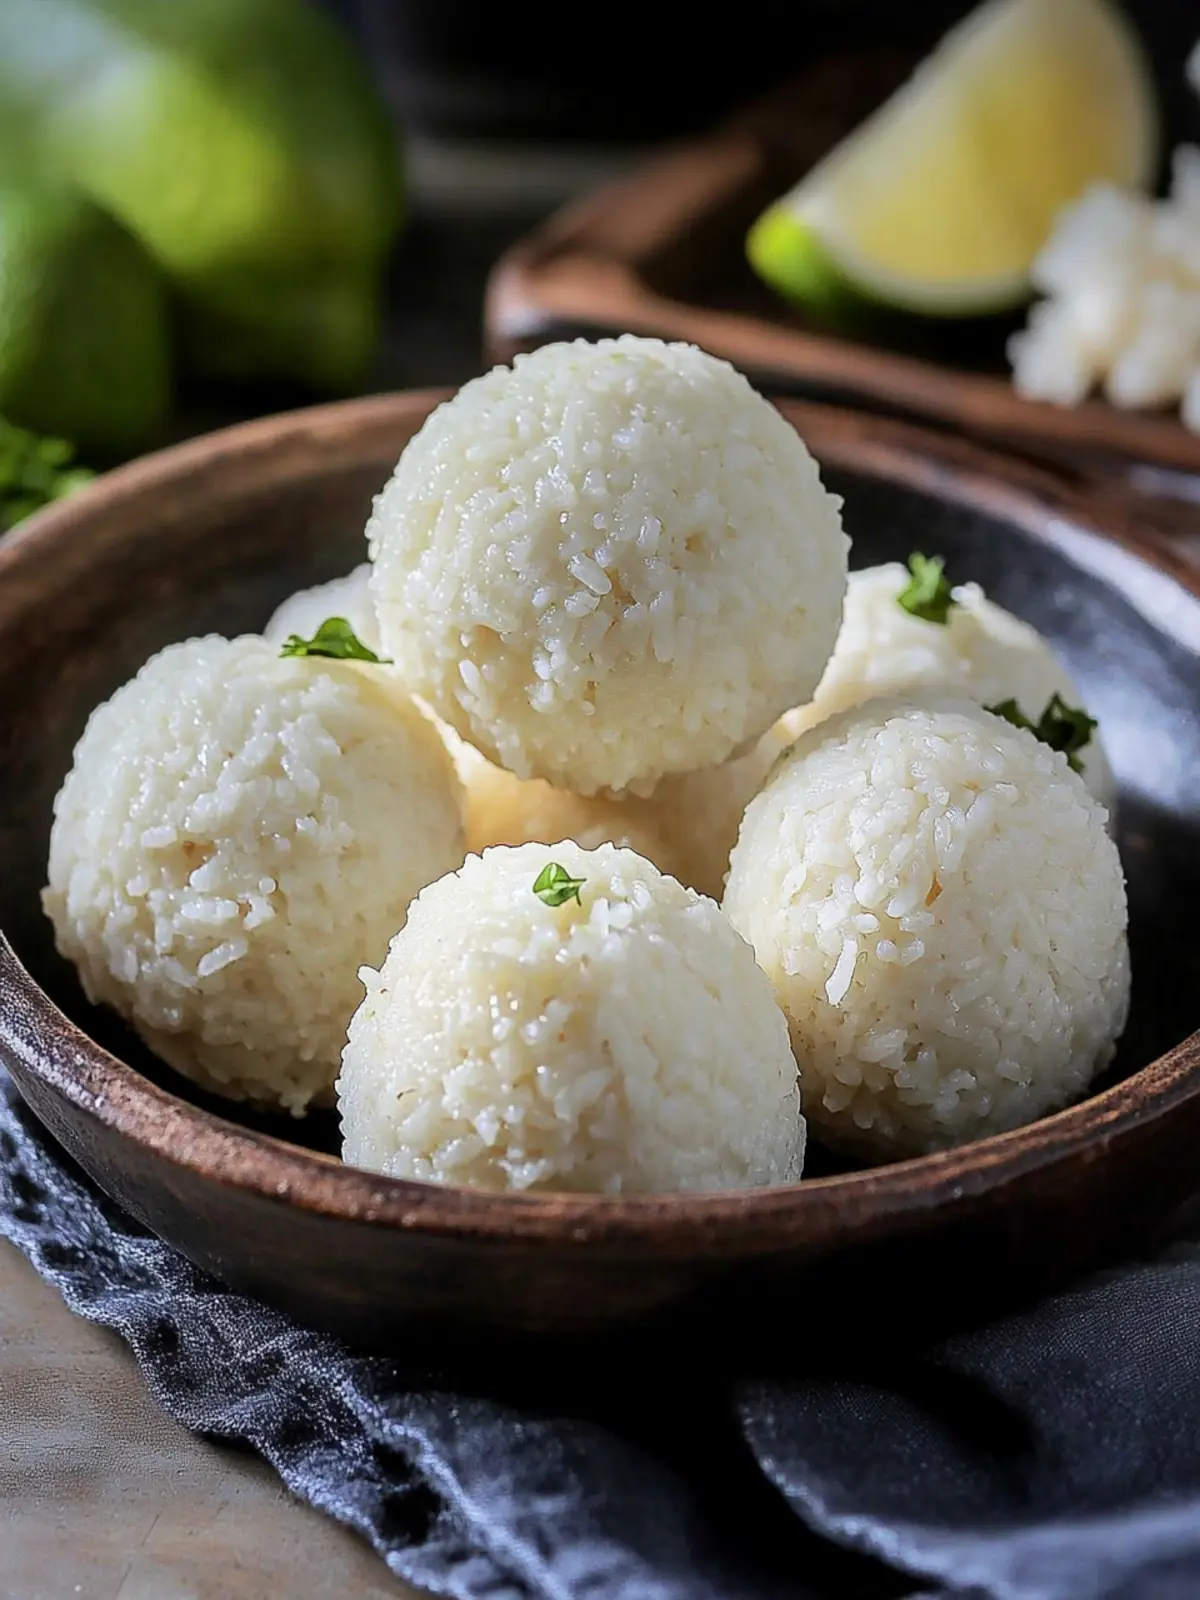
Best Rice for Rice Balls: Unlock Perfect Onigiri Every Time
Ingredients
Equipment
Method
- Choose Your Rice: Select Japanese short-grain rice to achieve that classic stickiness. Rinse it thoroughly until the water is clear—this step is magic for texture!
- Cook the Rice: Cook the rice according to package instructions. Ensure it’s tender yet sticky, enhancing the structural integrity essential for your rice balls.
- Season to Perfection: Mix in 1-2 tablespoons of rice vinegar and a pinch of salt while the rice is still warm. This adds depth of flavor and helps the rice clump beautifully.
- Master the Shaping Technique: Wet your hands to avoid sticking and gently scoop a handful of rice. Flatten it slightly and place your savory filling, then mold it into a ball shape with a soft yet firm pressure.
- Wrap It Up: If you’re using nori, cut it into strips and wrap it around the rice ball to add a delightful crunch and additional flavor.
- Enjoy It Fresh or Right Away: These rice balls are best enjoyed at room temperature or slightly chilled. However, they can be stored in the fridge for up to 2 days, making them a perfect make-ahead treat!