
As I walked through the bustling streets of Seoul, the scent of fried chicken wafted through the air, drawing me into a cozy eatery where the magic of Dakgangjeong unfolded. Juicy, crispy, and glazed with a spicy sweetness, this dish has a way of igniting joy with every bite. Lucky for you, I’ve recreated that experience with this easy recipe for Ultra Crispy Korean Fried Chicken Tenders with Gochujang Glaze. In just 35 minutes, you can whip up a flavor-packed dinner that’s bound to impress family and friends alike.
Not only do these chicken tenders offer an irresistible crunch, but they’re also versatile enough for any occasion—whether it’s a casual weeknight meal or a fun appetizer for gatherings. With the perfect balance of sweet, spicy, and savory flavors, you’ll find yourself craving this delectable dish again and again. Dive in with me, and let’s transform your kitchen into a bustling Korean street food haven!
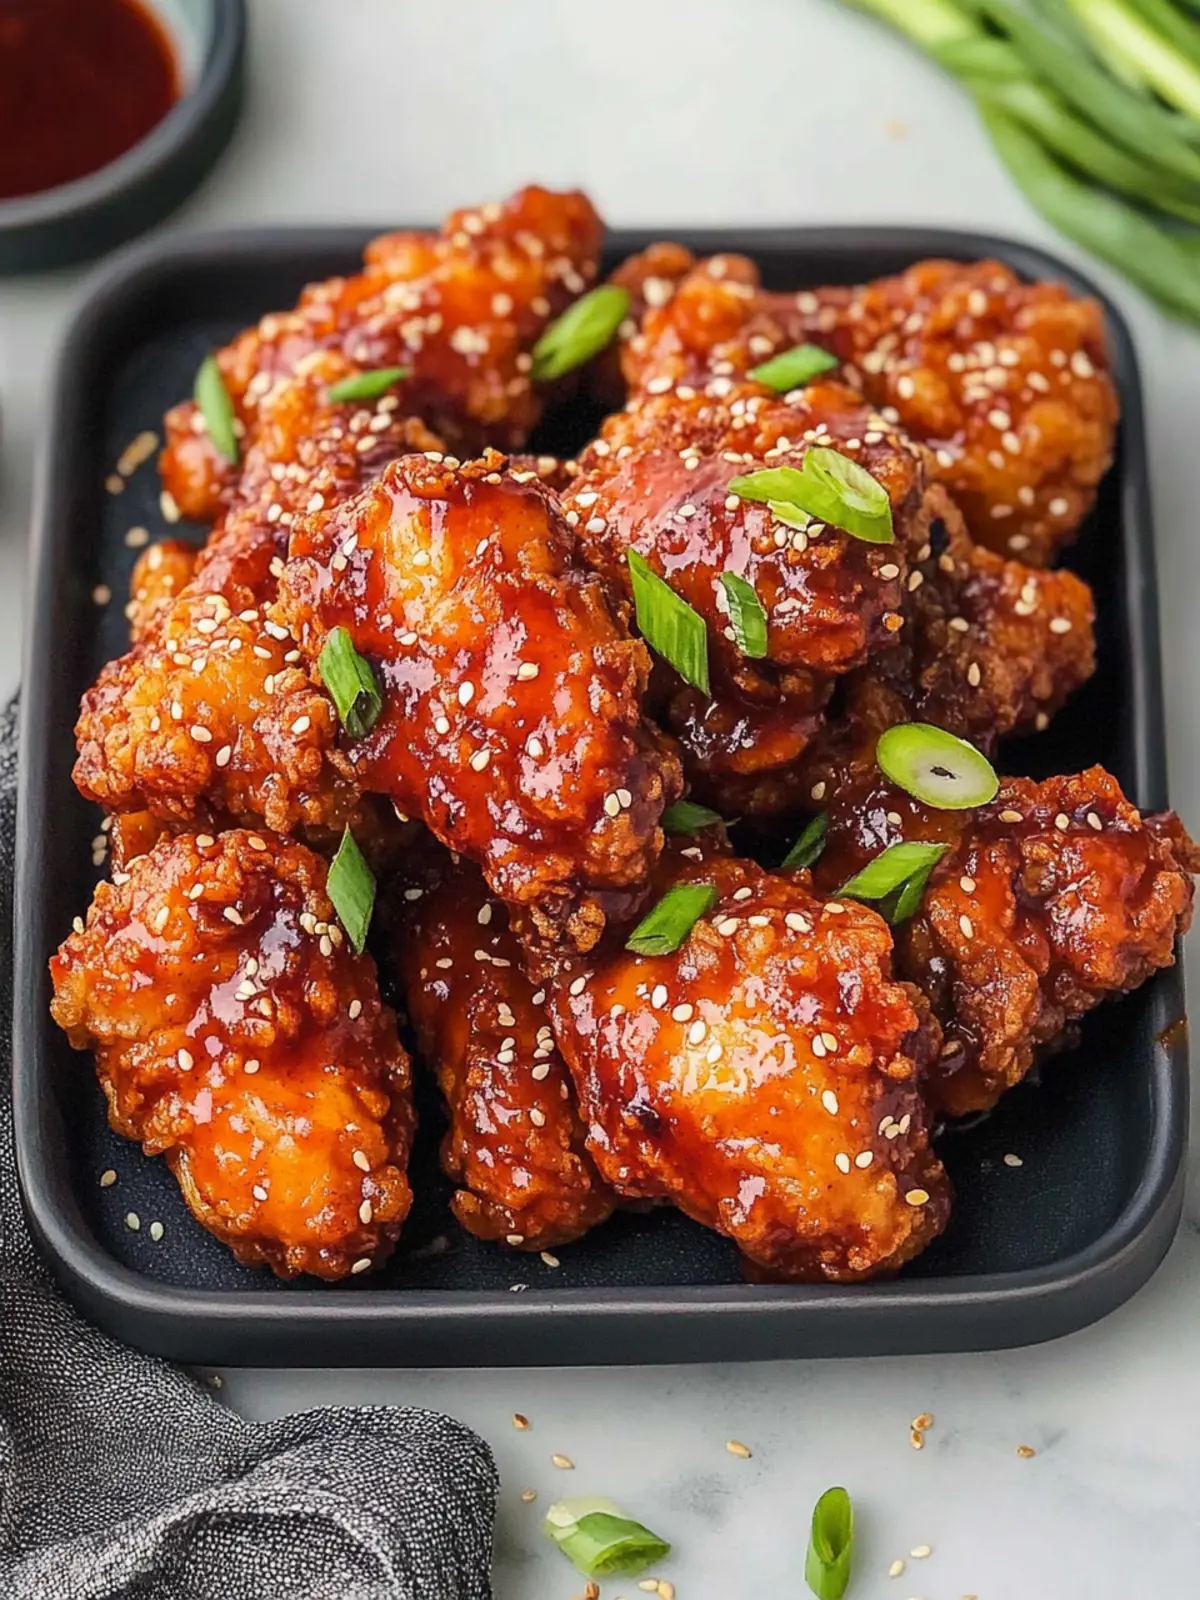
Why is Crispy Korean Fried Chicken a Must-Try?
Irresistible Flavor: The marriage of sweet Gochujang glaze and savory spices creates a flavor explosion that will dance on your taste buds.
Quick Cooking: With a total preparation time of just 35 minutes, you can enjoy gourmet chicken without the wait!
Perfect for Any Occasion: Whether it’s game night or a family dinner, these tenders will steal the show.
Simple Ingredients: Most of these pantry staples are easy to find, making this dish accessible for home cooks.
Healthy Craving Satisfaction: This recipe offers a gluten-free option, so you can indulge without the guilt.
Ready to impress your taste buds? Try pairing these tenders with a side of Honey Chilli Potatoes for an unforgettable meal!
Crispy Korean Fried Chicken Ingredients
• To create these delightful tenders, gather the following ingredients that promise vibrant flavors and a satisfying crunch!
For the Chicken
- Chicken Tenderloins – The perfect protein choice that cooks quickly and remains juicy.
- Buttermilk – Tenderizes the chicken for a moist bite; substitute with milk and vinegar if needed.
- Salt – Essential for enhancing the overall flavor of the chicken.
- Ground Pepper – Adds a mild touch of heat and depth to the dish.
For the Coating
- All-Purpose Flour – Provides a crispy base; opt for gluten-free flour for a gluten-free version.
- Corn Starch – Achieves that extra crunch; can be swapped with potato starch if preferred.
- Baking Powder – Helps make the coating light and fluffy.
- Paprika – Adds a pop of color and a hint of sweetness.
- Garlic Powder – Delivers savory flavor without overpowering the dish.
For Frying
- Oil – Use high smoke point oil, like canola, for frying for the best results.
For the Gochujang Glaze
- Soy Sauce – Essential for umami; tamari works perfectly for a gluten-free option.
- Gochujang Sauce – Provides the distinctive sweet, spicy, and smoky flavor essential to this Crispy Korean Fried Chicken recipe.
- Brown Sugar – Balances the spice with sweetness for a delicious glaze.
- Honey – Adds a touch of stickiness and enhances the sweetness.
- Sesame Oil – Rich flavor enhancer; substitute with olive oil if needed.
- Minced Garlic – Fresh garlic adds a burst of depth and richness to the sauce.
- Minced Ginger – Infuses warmth and a fragrant note into the glaze.
- Red Chili Flakes – Use for added heat, or omit for a milder flavor.
For Serving
- Sesame Seeds – Optional garnish that adds crunch and an appealing look.
- Chopped Green Onions – Fresh garnish that offers a splash of color and flavor.
Now that you have all your ingredients lined up, you’re ready to create a crispy and delightful Korean dining experience right in your kitchen!
How to Make Crispy Korean Fried Chicken
-
Marinate Chicken: Combine the chicken tenderloins with buttermilk, salt, and pepper in a bowl. Let it marinate for at least 1 hour to ensure it’s tender and flavorful.
-
Prepare Coating: In a shallow dish, whisk together the flour, cornstarch, baking powder, paprika, garlic powder, salt, and pepper. This mix will create that desired crispy coating.
-
Coat Chicken: Dredge the marinated chicken tenderloins in the flour mixture, ensuring they are fully coated for maximum crunch.
-
Fry Chicken: Heat oil in a deep pan over medium heat. Carefully add the chicken in batches, frying until golden brown, about 5-7 minutes per side. Drain the cooked chicken on paper towels.
-
Make Sauce: In a skillet, combine soy sauce, gochujang, brown sugar, honey, sesame oil, minced garlic, minced ginger, and red chili flakes. Simmer for about 5 minutes until thickened.
-
Combine: Toss the fried chicken in the prepared sauce until each piece is evenly coated, ensuring every bite is bursting with flavor.
-
Garnish and Serve: Serve hot, topped with sesame seeds and chopped green onions for an added crunch and pop of color.
Optional: Serve with a side of rice or a refreshing salad for a complete meal.
Exact quantities are listed in the recipe card below.
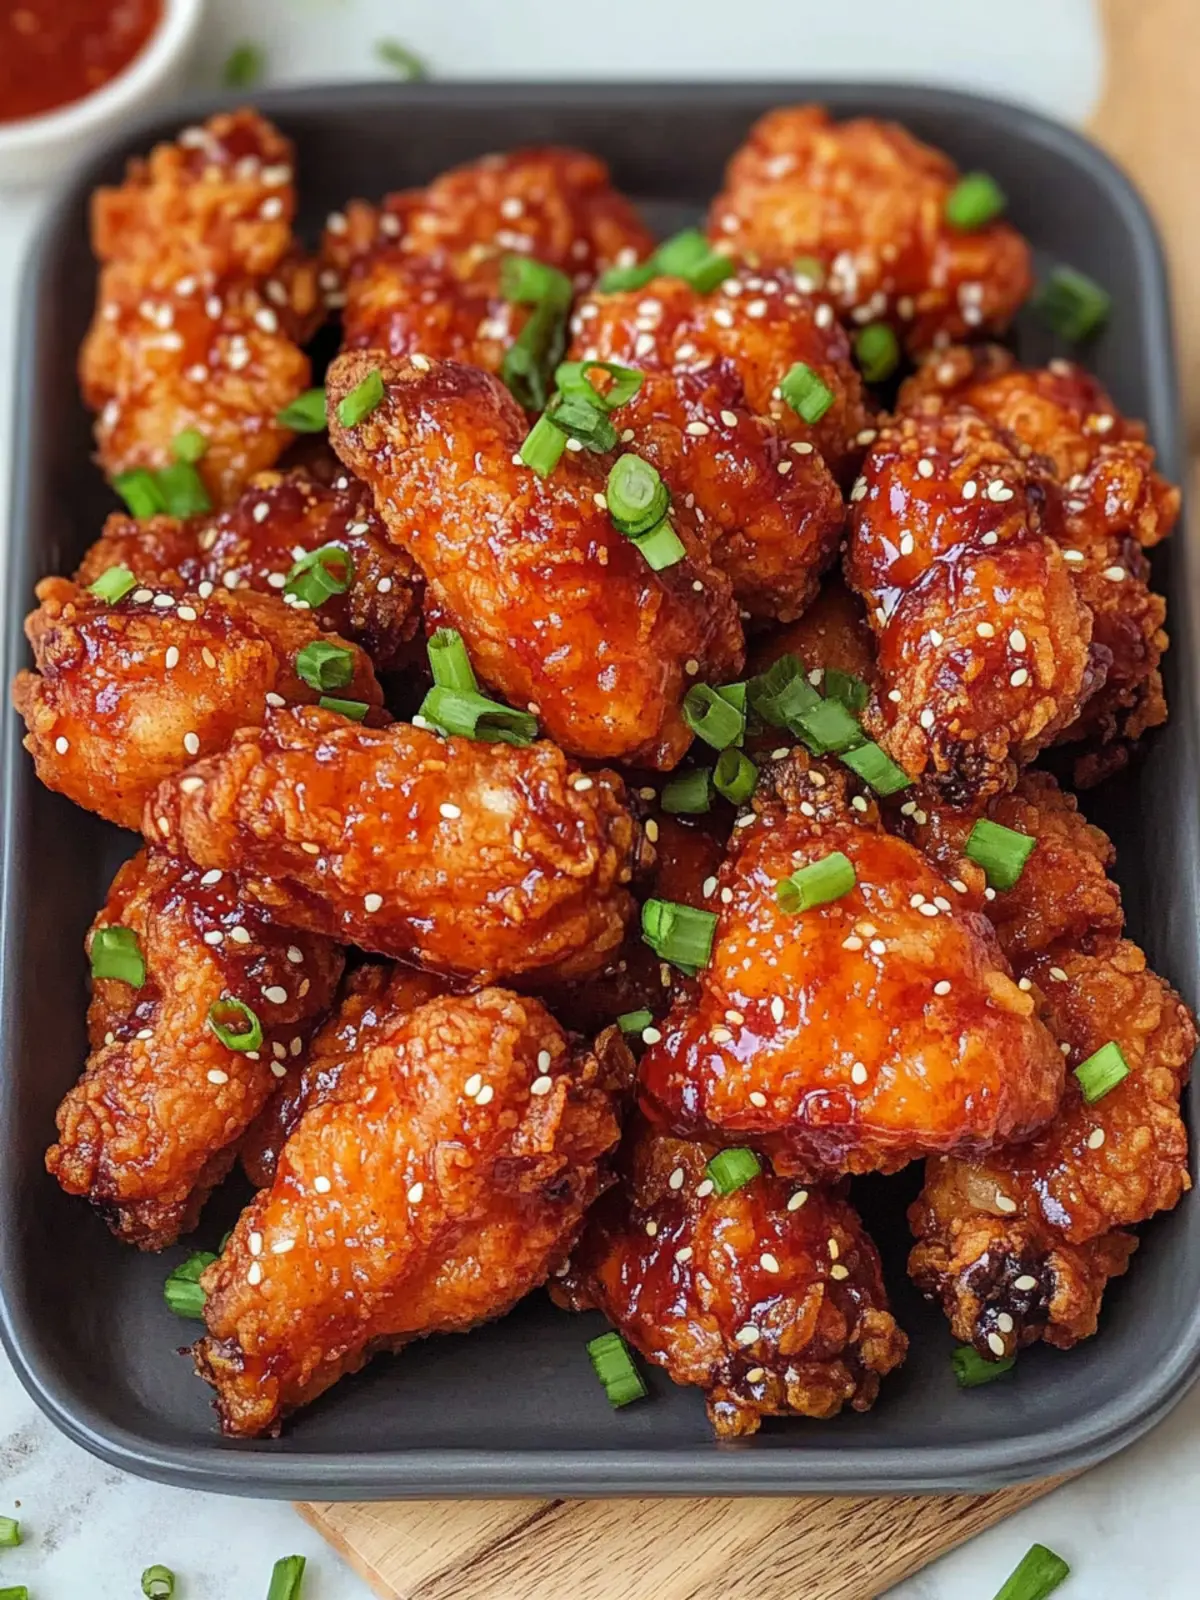
Expert Tips for Crispy Korean Fried Chicken
-
Marinating Matters: Marinate chicken tenderloins for at least 1 hour. This step ensures they are tender and flavorful, creating an unforgettable Crispy Korean Fried Chicken experience.
-
Coating Technique: When dredging chicken, press firmly into the flour mixture. This helps achieve a thicker, crunchier coating that won’t fall off during frying.
-
Oil Temperature: Maintain oil at the right temperature (around 350°F). Too low, and it will absorb excess oil; too high, and it may burn before cooking through.
-
Double Frying: For unbeatable crunch, consider double-frying the chicken. Fry once for about 5 minutes, let it rest, then fry again until golden and crispy.
-
Crowd Control: Avoid overcrowding the frying pan. This ensures the oil temperature stays consistent, leading to evenly cooked and crispy chicken tenders.
What to Serve with Crispy Korean Fried Chicken?
Pairing this delightful dish with the right sides will elevate your mealtime experience. Let’s create a feast that balances textures and flavors!
-
Steamed Jasmine Rice: The fragrant, fluffy rice soaks up the sweet and spicy glaze, providing a comforting base for your chicken.
-
Garlic Soy Broccoli: Lightly sautéed broccoli with soy and garlic gives a fresh, crunchy contrast that complements the rich chicken.
-
Asian Cabbage Slaw: A crisp and tangy slaw with sesame dressing adds brightness and a refreshing crunch, balancing the flavors beautifully.
-
Sweet Potato Fries: Crispy and slightly sweet, they offer a delightful crunch that pairs well with the spicy chicken, enhancing every bite.
-
Mango Salad: Juicy mango slices mixed with lime and cilantro provide a zesty contrast that lightens the richness of the fried chicken.
-
Sapporo Beer or Soju: Both drinks are a traditional pairing, offering a crisp finish that complements the savory elements of the chicken.
-
Chocolate Mousse: For dessert, a rich chocolate mousse will satisfy your sweet tooth, beautifully rounding off the meal after the spicy kick!
With these pairings, you’ll create a full, vibrant meal that allows every flavor to shine and complements your Crispy Korean Fried Chicken perfectly.
Make Ahead Options
These Crispy Korean Fried Chicken tenders are ideal for meal prep, saving you precious time during busy weeknights. You can marinate the chicken in buttermilk, salt, and pepper up to 24 hours in advance for maximum tenderness and flavor. Additionally, you can mix the dry coating ingredients (flour, cornstarch, baking powder, and spices) and store them in an airtight container for up to 3 days. When it’s time to cook, simply dredge the marinated chicken, fry it until golden, and make the glaze on the spot to ensure everything remains fresh and flavorful. With these simple make-ahead tips, you’ll enjoy delicious, crispy tenders that feel just as special as freshly prepared.
Crispy Korean Fried Chicken Variations
Feel free to sprinkle your personal touch on this delightful dish with these tasty twists!
- Gluten-Free: Replace all-purpose flour with a gluten-free flour blend for a crunchy, gluten-free delight.
- Spicy Twist: Add more red chili flakes or substitute with sambal for an even bolder heat profile. Just remember, a little goes a long way!
- Herb Infusion: Incorporate dried herbs like thyme or rosemary into the coating mix for an aromatic touch. This adds a wonderful depth to the flavor!
- Sweet & Savory: Drizzle a bit of sesame honey glaze over the top before serving for a unique sweet-savory experience that will charm every palate.
- Marinated Variation: Swap buttermilk for coconut milk for a subtle sweetness and moistness that pairs beautifully with the crispy coating.
- Alternate Proteins: Change it up with boneless chicken thighs or even tofu for a plant-based option; they both fry up beautifully crispy.
- Creamy Glaze: Mix in a touch of creamy mayonnaise or Greek yogurt to the glaze for a rich texture that takes it over the top!
- Side Showcase: Serve alongside fiery kimchi or cool cucumber salad for that perfect contrast of flavors and textures that elevate each bite.
Let your culinary creativity shine, and don’t hesitate to mix and match these variations!
How to Store and Freeze Crispy Korean Fried Chicken
Fridge: Store any leftover Crispy Korean Fried Chicken in an airtight container for up to 4 days. Reheat in a 375°F oven to keep the coating crispy.
Freezer: For longer storage, freeze the chicken for up to 2 months. Flash freeze on a baking sheet first, then transfer to a freezer-safe bag to prevent sticking.
Reheating: To regain that crispy texture, reheat frozen chicken directly from the freezer in a preheated 375°F oven for about 20-25 minutes.
Wrapping: Always ensure the chicken is completely cool before wrapping or bagging to prevent moisture buildup and sogginess.

Crispy Korean Fried Chicken Recipe FAQs
How should I choose my chicken tenderloins?
Absolutely! Look for tenderloins that are pink and firm to the touch, without any dark spots or discoloration. Fresher chicken will yield the juiciest results, so aim for tenderloins that have been recently packaged.
What’s the best way to store leftover Crispy Korean Fried Chicken?
Leftovers can be stored in an airtight container in the fridge for up to 4 days. I recommend reheating them in a 375°F oven for about 10 to 15 minutes to help retain that marvelous crunch.
Can I freeze my fried chicken?
Yes! For the best results, flash freeze your Crispy Korean Fried Chicken by placing it on a baking sheet in a single layer for about an hour. Once frozen, transfer it to a freezer-safe bag. This helps prevent sticking. It can be frozen for up to 2 months.
What if my chicken coating isn’t crispy enough?
Very! To achieve a crunchier texture, make sure your oil is hot enough (around 350°F) before adding the chicken. If necessary, consider double frying; fry for about 5 minutes, let it rest, and fry again for that extra crunch!
Are there any dietary considerations for this recipe?
Indeed! If you’re concerned about gluten, ensure to use gluten-free substitutes for both flour and soy sauce. Plus, always read labels for any pre-made sauces to check for allergens. It’s adaptable so everyone can enjoy it!
How can I achieve a thicker glaze for my chicken?
For a thicker glaze, after mixing your sauce ingredients, simmer on low heat until it reduces and thickens, usually about 5-7 minutes. Make sure to stir occasionally to prevent burning. This will give your Crispy Korean Fried Chicken that perfect sticky texture!
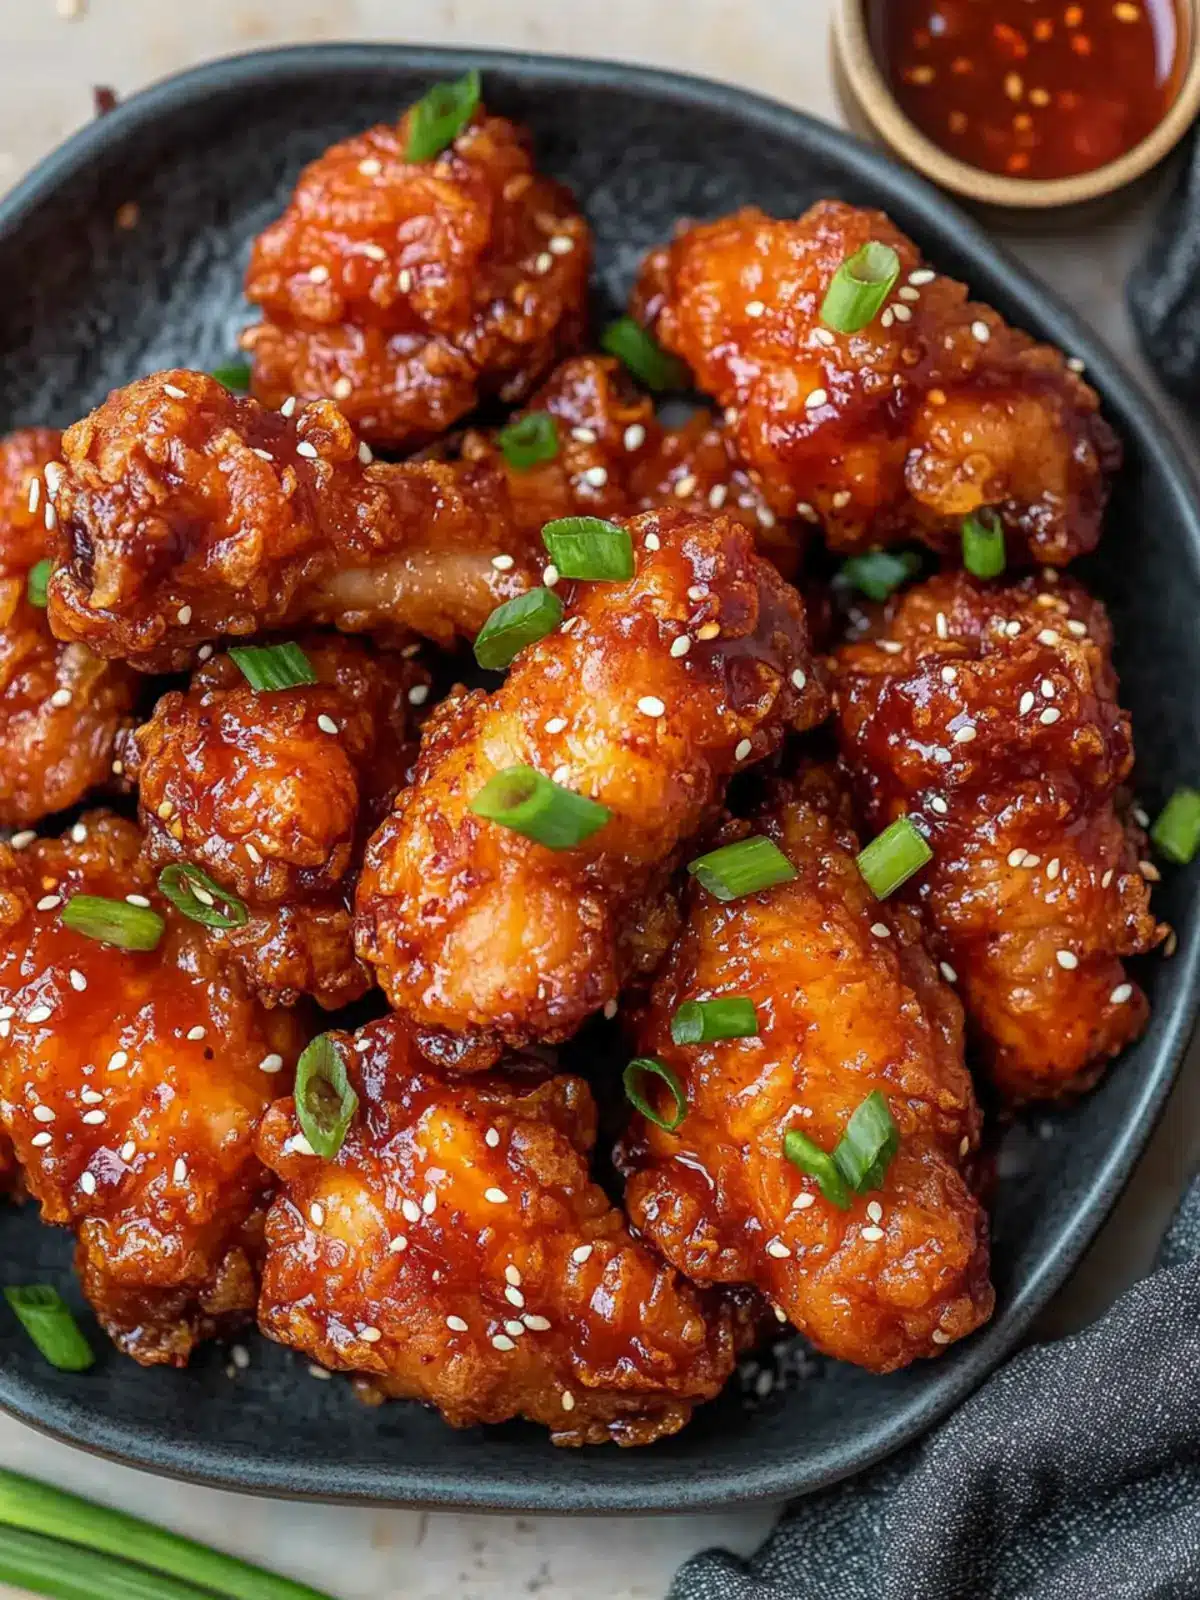
Crispy Korean Fried Chicken Dakgangjeong: Perfectly Irresistible
Ingredients
Equipment
Method
- Combine the chicken tenderloins with buttermilk, salt, and pepper in a bowl. Let it marinate for at least 1 hour.
- In a shallow dish, whisk together the flour, cornstarch, baking powder, paprika, garlic powder, salt, and pepper.
- Dredge the marinated chicken tenderloins in the flour mixture, ensuring they are fully coated.
- Heat oil in a deep pan over medium heat. Carefully add the chicken in batches, frying until golden brown, about 5-7 minutes per side.
- In a skillet, combine soy sauce, gochujang, brown sugar, honey, sesame oil, minced garlic, minced ginger, and red chili flakes. Simmer for about 5 minutes until thickened.
- Toss the fried chicken in the prepared sauce until each piece is evenly coated.
- Serve hot, topped with sesame seeds and chopped green onions.