
As the sun shines brighter and the days grow warmer, there’s nothing quite like the sheer joy of a refreshing fruit tart to celebrate the season! I love how this classic dessert transforms vibrant, fresh fruits into a visually stunning centerpiece that brings smiles to everyone at the table. Whether it’s a birthday bash, a cozy picnic, or an elegant dinner party, this tart never fails to impress.
What makes this fruit tart truly special is its versatility – from the crisp, buttery crust to the luscious, creamy filling, it’s a canvas ready for your creative touch. Your choice of seasonal fruits will shine through, making each tart uniquely yours. And the best part? It’s surprisingly easy to whip up, allowing you to focus on the delicious memories you’ll create around the table, instead of getting lost in complicated steps.
So grab your apron, and let’s dive into this delightful recipe that will surely become a cherished favorite in your home!
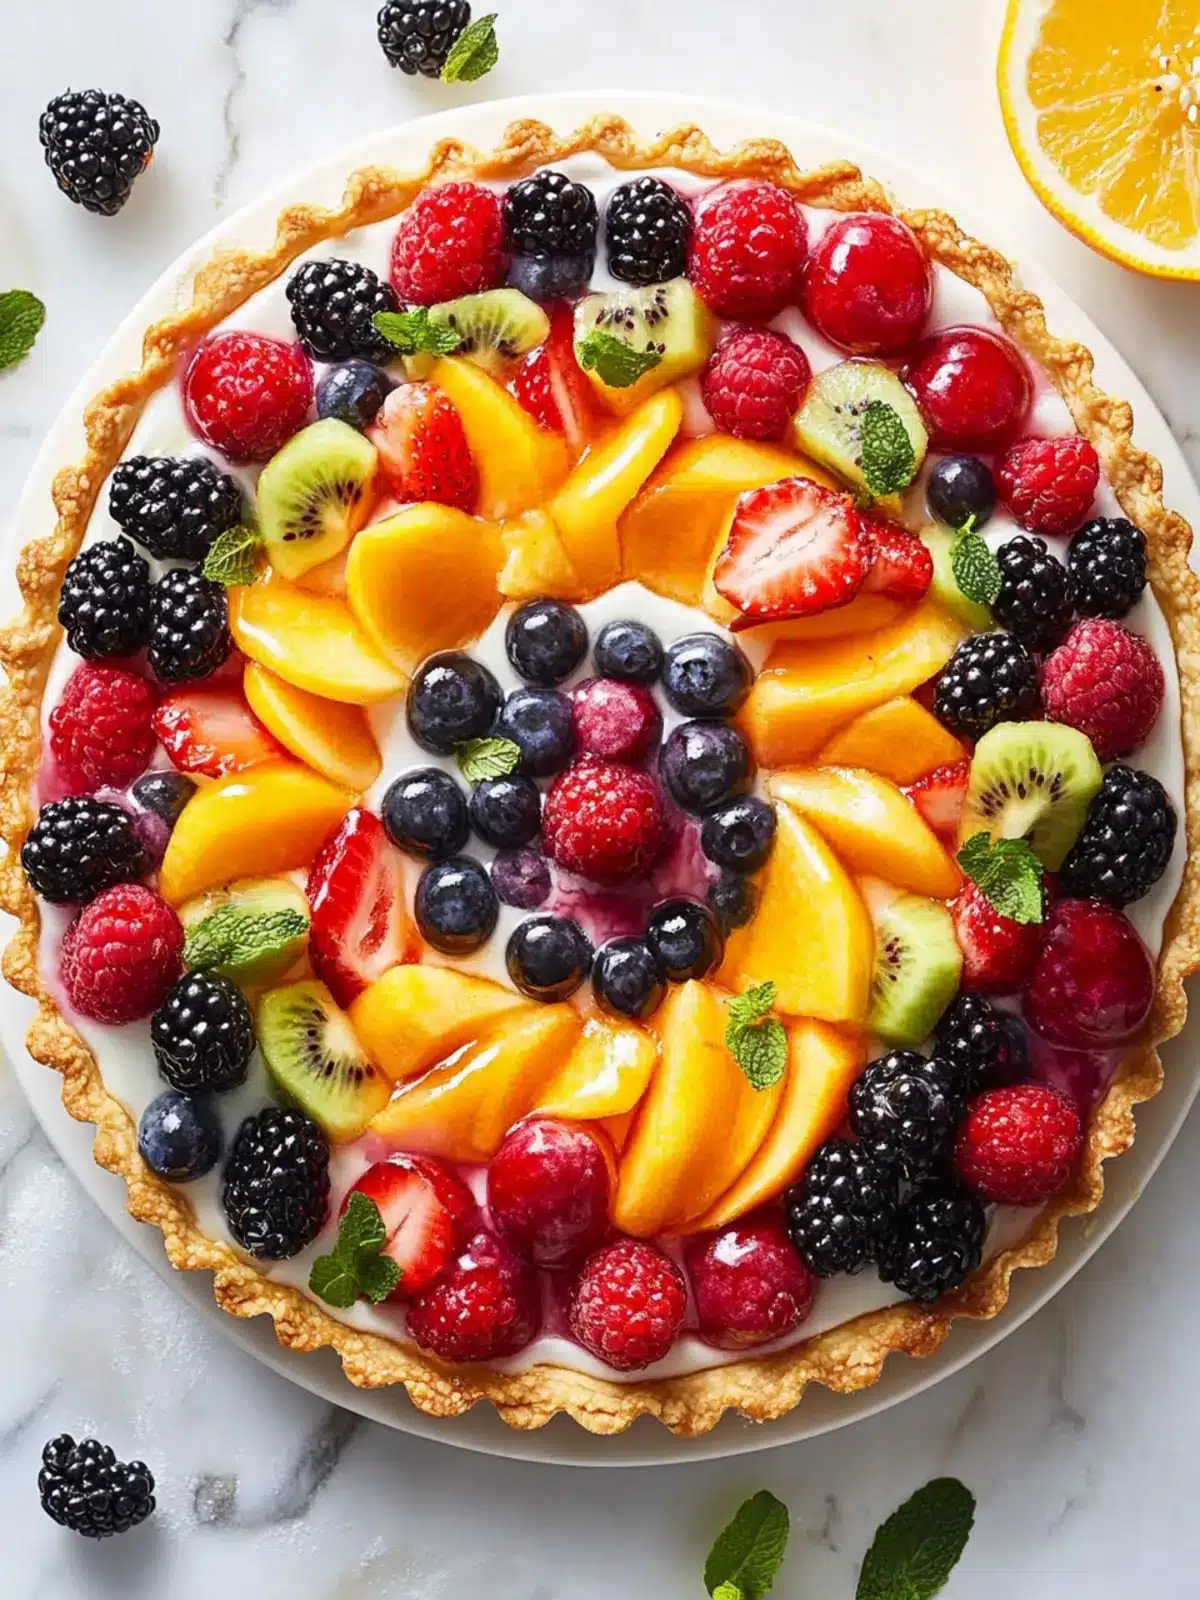
Why is this Fruit Tart a must-try?
Deliciously Easy: This fruit tart is simple to make, combining traditional techniques with accessible ingredients.
Vibrant Presentation: With its colorful assortment of fruits, this dessert is not just tasty but also visually captivating, perfect for gatherings.
Versatile Flavors: Customize the filling with your favorite extracts and seasonal fruits for a dessert that reflects your personal taste.
Make-Ahead Friendly: Prepare it in advance and enjoy the day of your event without any last-minute stress, making it an ideal choice for busy weekends.
Crowd-Pleaser: Guaranteed to impress your guests, this fruity delight is sure to be the star of any celebration. So, get ready to bring a touch of elegance to your dessert table!
Fruit Tart Ingredients
For the Crust
- All-Purpose Flour – Provides structure to the crust; for a gluten-free version, substitute with gluten-free flour.
- Granulated Sugar – Adds a touch of sweetness that balances the crust’s flavor.
- Kosher Salt – Enhances flavor and balances sweetness beautifully.
- Butter (melted) – Brings richness and moisture; can be replaced with margarine for a dairy-free alternative.
- Almond Extract – Infuses a delightful nutty flavor; feel free to swap in vanilla extract for a different twist.
For the Filling
- Heavy Cream – Creates a stable, fluffy filling that melts in your mouth.
- Mascarpone Cheese – Offers a rich, creamy texture; substitute with ricotta for a lighter option.
- Cream Cheese – Adds a tangy profile to the filling; reduced-fat cream cheese works well for a lighter version.
- Powdered Sugar – Sweetens the filling while helping maintain its creamy consistency.
- Lemon Juice – Brightens flavor and enhances the overall taste of the filling.
For the Topping
- Fresh Fruits (strawberries, blackberries, raspberries, mandarin oranges, blueberries) – Offers natural sweetness and visual appeal; feel free to substitute with your favorite seasonal fruits.
- Apricot Preserves – Used for glazing the tart; can be replaced with any fruit preserve or omitted for less sweetness.
This delicious fruit tart will surely become a hit at your gatherings!
How to Make Fruit Tart
-
Preheat Oven: Begin by preheating your oven to 350°F (175°C). This ensures that your crust will bake evenly and come out perfectly golden brown.
-
Prepare the Crust: Whisk together the all-purpose flour, granulated sugar, and kosher salt in a mixing bowl. Then, mix in the melted butter and almond extract until a dough forms. Press this dough into a 10-inch tart pan, poking it with a fork to prevent puffing while baking.
-
Bake the Crust: Pop the tart pan into the preheated oven and bake for 20-25 minutes, or until the crust is golden brown. Once done, let it cool completely before adding the filling.
-
Make the Filling: Using an electric mixer, beat the heavy cream in a separate bowl until stiff peaks form. In another bowl, blend the mascarpone and cream cheese until smooth. Gently incorporate the powdered sugar, lemon juice, and almond extract, then fold in the whipped cream until well combined.
-
Assemble the Tart: Once the crust is cool, evenly spread the creamy filling over it. Artistically arrange your chosen fresh fruits on top for maximum visual impact.
-
Glaze the Tart: To give your tart a beautiful finish, heat apricot preserves with a splash of water until melted. Brush this glaze over the fruit topping to add a touch of sweetness and shine.
-
Chill and Serve: Place the tart in the refrigerator for at least 2 hours before slicing. This allows the flavors to meld and ensures the filling sets perfectly.
Optional: Serve with a dusting of powdered sugar or a dollop of whipped cream for extra indulgence.
Exact quantities are listed in the recipe card below.

Make Ahead Options
These fruit tarts are perfect for busy home cooks looking to save time while still serving a stunning dessert! You can prepare the crust and the creamy filling up to 24 hours in advance; simply keep them refrigerated separately in airtight containers. To maintain the crust’s crispiness, store it uncovered until you’re ready to fill it. Assemble the tart with fresh fruits and glaze just before serving for the best presentation and flavor. This way, you can enjoy a deliciously elegant fruit tart with minimal effort on the day of your gathering, ensuring that every bite is just as delightful as freshly made!
What to Serve with Fruit Tart?
Picture your perfect dessert spread, where a stunning fruit tart takes center stage, appealing not only to the taste buds but also to the eyes.
-
Lightly Sweetened Whipped Cream: A fluffy dollop complements the tart’s creaminess, adding a delightful contrast that’s simply irresistible.
-
Fresh Mint Sprigs: Bright and aromatic, mint brings a refreshing burst that cuts through the sweetness, elevating the tart’s vibrancy.
-
Vanilla Ice Cream: Creamy vanilla ice cream melts into the tart’s filling, enhancing flavor and providing a comforting warmth to each bite.
Indulging in a slice of this vibrant dessert invokes joy, making these pairings perfect for enriching your experience.
-
Fruit-Infused Sparkling Water: This refreshing drink brightens the palate, balancing the tart’s sweetness with a light fizz that feels festive.
-
Cheese Platter: A selection of mild cheeses like brie or goat cheese adds savory notes to the meal, creating a beautiful flavor contrast worth savoring.
-
Chocolate Dipping Sauce: For an extra treat, serve warm chocolate sauce on the side for those who crave a rich combination of flavors.
-
Shortbread Cookies: Offering a crumbly texture, these buttery bites serve as a delightful complement to the creamy filling of the tart.
Let these pairings inspire your next gathering, making every slice of fruit tart a part of unforgettable moments shared with loved ones.
Storage Tips for Fruit Tart
-
Room Temperature: Uncovered fruit tart is best consumed the same day for optimal freshness. If storing at room temperature, consume within 4 hours.
-
Fridge: Store leftover fruit tart in the refrigerator in an airtight container for up to 3 days. This helps preserve the crust’s texture and creamy filling.
-
Freezer: You can freeze the crust separately for up to 1 month. Wrap it well in plastic wrap and then foil. When ready to use, thaw and fill with the creamy filling and fruits before serving.
-
Reheating: If the crust has been frozen, reheat it in a 350°F (175°C) oven for about 10 minutes before adding the filling for a crispier texture.
Expert Tips for Fruit Tart
-
Cool the Crust: Make sure the crust is completely cool before adding the filling to prevent it from melting and losing texture.
-
Whip Gently: To achieve a lighter filling, gently fold the whipped cream into the mascarpone mixture; this preserves airiness and results in a fluffier texture.
-
Choose Fresh Fruits: Use the ripest, freshest fruits available for the topping; they not only enhance the tart’s flavor but also elevate its visual appeal.
-
Slice Cleanly: Use a sharp knife to cut the tart for clean slices; this helps maintain the beautiful presentation and ensures everyone gets a fair share of fruit and filling.
-
Customize with Extracts: Feel free to experiment with different flavor extracts in the filling, such as vanilla or lemon, to personalize your fruit tart and suit your taste preferences.
Fruit Tart Variations
Feel free to elevate your fruit tart experience with these delightful twists that will inspire your creativity in the kitchen!
-
Mini Tarts: Create adorable individual portions by using the same ingredients to make mini tarts, perfect for gatherings.
-
Flavor Extracts: Swap almond extract for lemon or vanilla in the filling for a fresh twist on flavor.
-
Nut Crust: Add crushed nuts like pecans or almonds to the crust for delightful crunch and a hint of nuttiness.
-
Coconut: Mix shredded coconut into the cream filling for added texture and a tropical flair that dances on your palate!
-
Chocolate Drizzle: Elevate with a drizzle of melted dark chocolate on top of the fruits before serving for a decadent surprise.
-
Spicy Kick: Add a pinch of cinnamon or cayenne pepper into the cream filling for a surprising touch of warmth and spice.
-
Mocktail Tart: Add a splash of your favorite cocktail mixer—think orange or cranberry juice—into the cream filling for a fun, fruity update.
With these variations, you can truly make this classic fruit tart a personal masterpiece that reflects your taste and enhances each occasion with joy!

Fruit Tart Recipe FAQs
How do I select ripe fruits for my tart?
Absolutely! When choosing fruits for your tart, look for ones that are brightly colored and fragrant. For berries, avoid those with dark spots or mold. For stone fruits like peaches or nectarines, they should be slightly soft to the touch. Always wash and dry them before using to ensure they shine bright on your tart!
What is the best way to store leftover fruit tart?
Very good question! Leftover fruit tart should be stored in an airtight container in the refrigerator for up to 3 days. This helps keep the crust from becoming too soggy while maintaining the filling’s creamy texture. Always cover it to prevent it from absorbing any fridge odors.
Can I freeze the fruit tart?
Yes, you can! However, it’s best to freeze the crust separately for optimal texture. Wrap the cooled crust tightly in plastic wrap and then in foil to avoid freezer burn; it’s good for up to 1 month. When you’re ready to make the tart, thaw the crust in the refrigerator, then fill it with the creamy mixture and fresh fruits before serving.
What if my crust is too crumbly?
That can happen! If your crust is too crumbly, it might be due to under-using moisture or over-mixing the dough. Try adding a little cold water, one teaspoon at a time, until the dough holds together. Remember to press it firmly into the tart pan but avoid overworking it, which can lead to a tough crust.
Is this fruit tart suitable for people with gluten allergies?
Yes! To make a gluten-free version of this delicious fruit tart, simply substitute the all-purpose flour with a gluten-free blend. There are many great options available that can work perfectly, giving you a tasty dessert that everyone can enjoy.
Can I prepare the fruit tart a day ahead?
Absolutely, planning ahead makes it easier! Assemble the tart one day in advance, then refrigerate it after you complete the filling. This allows the flavors to meld beautifully together. Just add the fresh fruits and glaze right before serving to ensure they look their best!
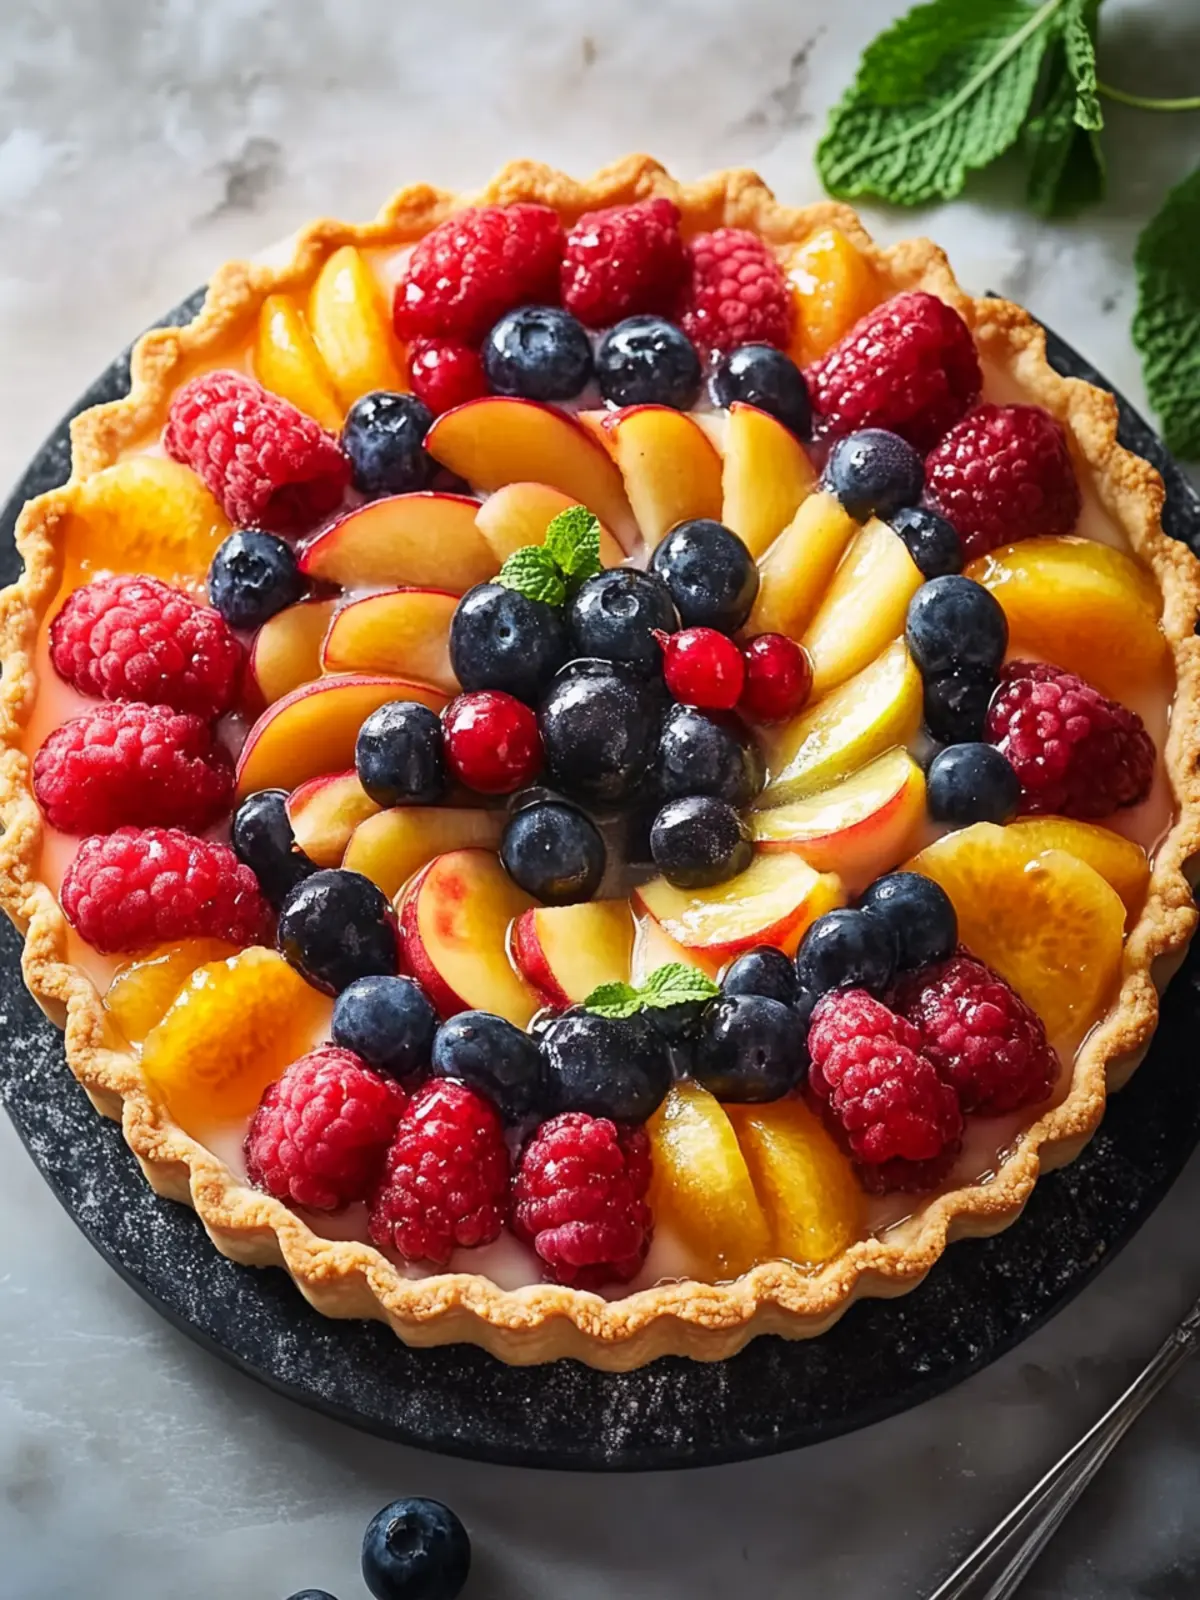
Deliciously Easy Fruit Tart You'll Love for Any Occasion
Ingredients
Equipment
Method
- Preheat your oven to 350°F (175°C).
- In a mixing bowl, whisk together the all-purpose flour, granulated sugar, and kosher salt. Mix in the melted butter and almond extract until a dough forms. Press this dough into a 10-inch tart pan, poking it with a fork to prevent puffing.
- Bake for 20-25 minutes, or until golden brown. Let it cool completely before adding the filling.
- In another bowl, beat the heavy cream until stiff peaks form. Blend the mascarpone and cream cheese until smooth. Gently combine with powdered sugar, lemon juice, and almond extract, then fold in the whipped cream.
- Spread the creamy filling over the cooled crust. Arrange your fresh fruits on top.
- Heat apricot preserves with a splash of water until melted; brush over the fruit topping.
- Chill in the refrigerator for at least 2 hours before serving.