
When the rich aroma of freshly baked bread fills the air, it’s hard not to feel a wave of comfort wash over you. That’s exactly how I felt the first time I pulled a batch of Homemade Handmade Sub Rolls from the oven, their golden crust crackling as I gently tapped them. These rolls aren’t just any bread; they’re the ultimate canvas for creativity, whether you’re crafting a classic hoagie or a flavorful meatball sub.
What makes these rolls truly special is their incredible softness and versatility. Each bite is a delightful balance of fluffy interior and sturdy exterior, perfect for holding whatever deliciousness you choose to stuff inside. With a straightforward process that even novice bakers can master and customizable options to fit any dietary preference, you’ll find these rolls are not only meal prep-friendly but also a surefire way to impress your family and friends. So, roll up your sleeves and let’s get started on making your new favorite sandwich foundation!
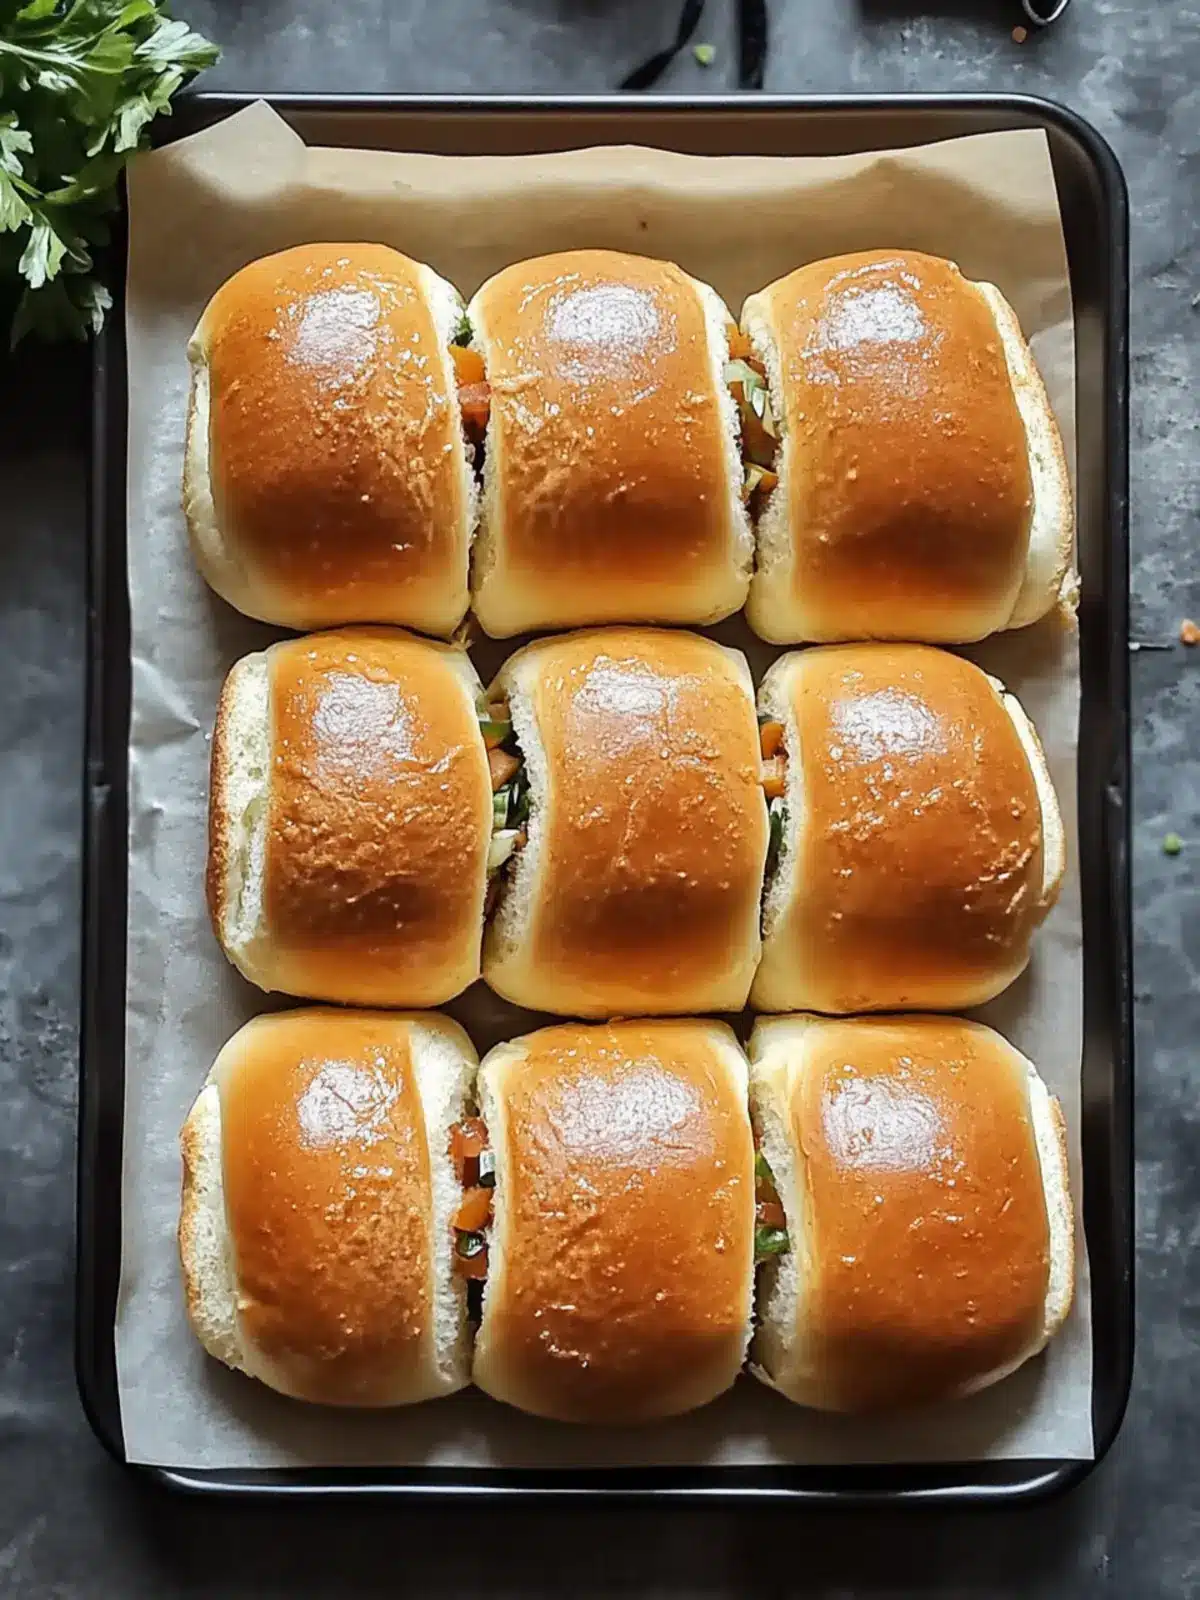
Why are Homemade Handmade Sub Rolls a hit?
Irresistible Aroma: The moment these rolls bake, your kitchen will be filled with warmth and the delightful scent of freshly baked bread, drawing everyone in.
Fluffy Texture: Each roll boasts a soft and airy interior, providing a perfect contrast to their sturdy crust—ideal for encapsulating any filling.
Versatile Foundation: Whether you prefer classic hoagies or adventurous meatball subs, these rolls adapt beautifully to any sandwich creation.
Meal Prep-Friendly: They are easy to make in batches, making them perfect for busy days ahead, so you can save time without sacrificing taste.
Customizable Ingredients: Feel free to experiment with vegan alternatives or different types of milk; this recipe is friendly for various diets.
Ready to elevate your sandwich game? Check out our tips for delicious filling options and serving suggestions!
Homemade Handmade Sub Rolls Ingredients
For the Dough
- Whole Milk – Adds moisture and a subtle sweetness; substitute with 2% milk or a dairy alternative for different flavors.
- Sugar – Provides sweetness and feeds the yeast; can be replaced with honey or agave syrup for a healthier touch.
- Active Dry Yeast – Essential for leavening; ensure it’s fresh for optimal rise in your Homemade Handmade Sub Rolls.
- Bread Flour – Creates a strong structure for fluffy rolls; all-purpose flour can yield softer results which are still delicious.
- Fine Sea Salt – Enhances flavor and strengthens gluten structure; this is a crucial ingredient you don’t want to skip.
- Large Eggs – Contributes to the dough’s richness and binding; for a vegan option, replace with a flax egg.
- Unsalted Butter – Imparts richness and tenderness; use cold, cubed butter for better incorporation into the dough.
For the Egg Wash
- Egg White – Provides a beautiful golden finish; mix with a splash of water for best results.
How to Make Homemade Handmade Sub Rolls
-
Bloom the Yeast: In a medium bowl, combine warm milk, sugar, and active dry yeast. Stir gently and let it sit for about 5-10 minutes, until it becomes frothy and bubbly.
-
Mix Dough: In a large mixing bowl, whisk together the bread flour and fine sea salt. Pour in the yeasty milk mixture along with beaten large eggs, mixing until a shaggy dough forms.
-
Incorporate Butter: Add the cold, cubed unsalted butter to the dough. Knead by hand or use a mixer fitted with a dough hook for about 8-10 minutes, until the dough is smooth and elastic.
-
First Rise: Shape the dough into a ball and place it in a greased bowl. Cover with a kitchen towel and let it rise in a warm environment until it doubles in size, approximately 1 hour.
-
Divide and Shape: Gently punch down the risen dough to release air. Divide it into six equal pieces and shape each piece into elongated rolls to form your sub shape.
-
Second Rise: Arrange the shaped rolls on a lined baking sheet, cover lightly with a towel, and let them rise for another 30 minutes until puffy.
-
Prepare for Baking: Preheat your oven to 400°F (200°C). Brush the tops of the rolls with egg wash, making sure to coat them well. Using a sharp knife, make a few diagonal slashes on the top of each roll.
-
Bake: Place the baking sheet in the oven and bake for about 15 minutes, or until the rolls are golden brown and sound hollow when tapped on the bottom.
-
Cool: Once baked, transfer the rolls to a wire rack to cool completely before slicing or filling with your favorite ingredients.
Optional: Serve warm with butter or let cool and fill with your favorite sandwich fillings.
Exact quantities are listed in the recipe card below.
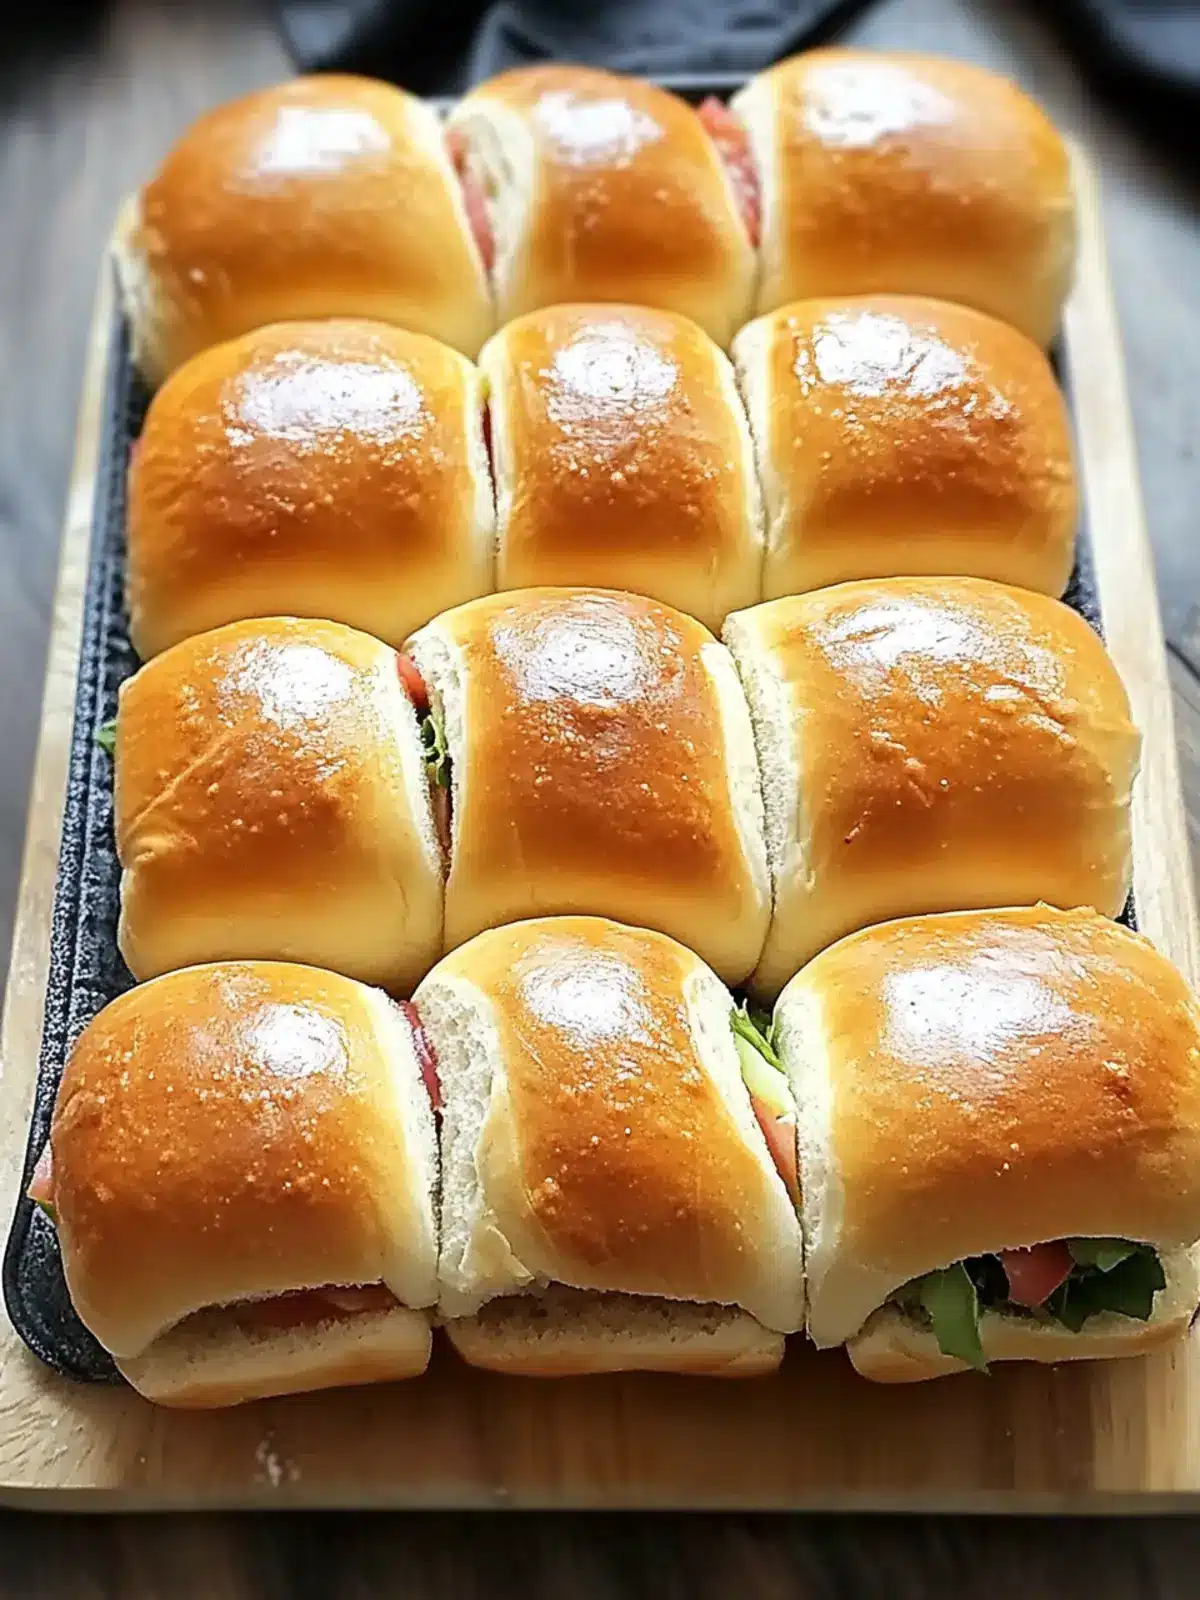
What to Serve with Homemade Handmade Sub Rolls?
Transform your hearty sub rolls into a feast with these delightful pairings that enhance flavor and experience.
-
Fresh Salad: A crisp, vibrant salad adds brightness, balancing the rich flavors of your filled rolls while introducing a refreshing crunch. Consider a zesty vinaigrette to tie everything together beautifully.
-
Vegetable Soup: Serve alongside a warm bowl of soup, like tomato bisque or minestrone. The combination of the soft rolls with a hearty broth creates a comforting hug in a meal, perfect for cozy evenings.
-
Chips and Salsa: Add a side of crunchy chips with vibrant salsa for some textural fun. The saltiness of the tortilla chips and the zing of fresh salsa contrast wonderfully with the fluffy texture of your rolls.
-
Coleslaw: A creamy or tangy coleslaw provides crispness and a bit of tang to complement the savory flavors inside your sub. The creamy taste enhances each bite, creating a delightful contrast.
-
Pickles: Serve with a selection of pickles for a tangy brightness. The crispness and acidity cut through the richness of your subs, making each bite entirely satisfying.
-
Craft Beer: Pair your sandwich creations with a refreshing craft beer. The carbonation and bitterness can enhance the overall flavor profile and create the perfect companion for your fluffy rolls.
-
Chocolate Chip Cookies: End your meal on a sweet note with warm chocolate chip cookies. Their gooey center and sweet richness create a delightful finale, making your meal complete and cozy.
-
Iced Tea: A sweetened or unsweetened iced tea complements your hearty meal while refreshing your palate. Its subtle flavor allows the sandwiches’ richness to shine.
Expert Tips for Homemade Handmade Sub Rolls
-
Accurate Measurements: Use a digital kitchen scale for precise ingredient measurements—this ensures consistent results every time you make your Homemade Handmade Sub Rolls.
-
Kneading Caution: Avoid adding too much flour when kneading the dough. The dough should be soft and slightly sticky, becoming easier to handle as it rises.
-
Ideal Rising Conditions: Create a warm and draft-free environment for dough rising. If your kitchen is cool, consider preheating your oven to the lowest setting, turning it off, and placing the dough inside.
-
Importance of Egg Wash: Don’t skip the egg wash step! This crucial step ensures a beautifully golden and shiny finish on your sub rolls.
-
Fresh Ingredients: Always check the freshness of your yeast; expired yeast may result in dough that fails to rise properly, compromising the texture of your Homemade Handmade Sub Rolls.
-
Freezing for Later: If you make a double batch, freeze extra rolls. Wrap them tightly in plastic wrap before placing in a freezer bag for future sandwiches!
How to Store and Freeze Homemade Handmade Sub Rolls
-
Room Temperature: Keep the rolls in an airtight container at room temperature for up to 3 days. This ensures they stay soft and flavorful without drying out.
-
Fridge: If you prefer to extend their shelf life, store in the fridge for up to 5 days, wrapped snugly in plastic wrap to maintain moisture.
-
Freezer: For long-term storage, wrap each roll tightly in plastic wrap and place them in a freezer bag. They can be frozen for up to 3 months.
-
Thawing: When ready to use, simply thaw individual rolls at room temperature or use the microwave for a quick warming before filling your delicious Homemade Handmade Sub Rolls.
Make Ahead Options
These Homemade Handmade Sub Rolls are perfect for meal prep enthusiasts! You can prepare the dough and let it rise up to 24 hours in advance, simply covering it tightly with plastic wrap in the refrigerator. This slow rise allows the flavors to develop beautifully. You can also shape the rolls and place them on a baking sheet, covering them, and let them rest in the fridge for up to 3 days before baking. When ready to bake, simply allow them to come to room temperature for about 30 minutes, brush with egg wash, make slashes on top, and pop them in the oven. Your family will enjoy fresh, fluffy rolls just as delightful as any lunch shop’s, minus the wait!
Homemade Handmade Sub Rolls Variations
Feel free to explore these delightful variations and substitutions to make the recipe truly yours!
-
Vegan Option: Replace large eggs with a flax egg (1 tablespoon ground flaxseed mixed with 2.5 tablespoons water). This keeps your rolls plant-based without sacrificing texture.
-
Dairy-Free: Use almond, soy, or oat milk instead of whole milk for a lighter roll that caters to lactose intolerance or dairy-free lifestyles.
-
Flour Alternatives: Try using whole wheat flour or a gluten-free flour blend for healthier or gluten-free options, adding a unique flavor twist.
-
Sweetness Swap: Substitute sugar with honey or maple syrup to impart a richer taste while still providing the necessary sweetness for yeast activation.
-
Spiced Rolls: Add herbs like rosemary or garlic powder to the dough for an aromatic experience that pairs perfectly with savory fillings.
-
Seed Topping: Sprinkle sesame or poppy seeds on top of the egg wash before baking for added texture and a nutty flavor.
-
Cheesy Delight: Incorporate grated cheese like Parmesan or cheddar into the dough for a savory umami kick that your family will adore.
-
Heat Factor: Spice things up by adding a dash of cayenne pepper or chili flakes to the dough for a delightful kick in every bite.
Homemade Handmade Sub Rolls Recipe FAQs
What type of milk should I use for Homemade Handmade Sub Rolls?
You can use whole milk for added moisture and sweetness in your rolls. If you’re looking for a substitute, 2% milk or dairy alternatives like almond or oat milk work beautifully without sacrificing flavor.
How should I store Homemade Handmade Sub Rolls?
Store your rolls in an airtight container at room temperature for up to 3 days. If you’d like to extend their freshness, wrap them in plastic wrap and place them in the fridge for up to 5 days.
Can I freeze Homemade Handmade Sub Rolls?
Absolutely! To freeze, wrap each roll tightly in plastic wrap, then place them in a freezer bag. They’ll stay fresh for up to 3 months. When you’re ready to enjoy them, thaw at room temperature or microwave for a quick warm-up.
My rolls didn’t rise properly. What could be wrong?
If your dough didn’t rise, the culprit might be stale yeast or liquids that weren’t at the correct temperature. Always ensure your yeast is fresh and your liquids are warm (but not too hot). If the kitchen is cool, consider a warmer environment, like an oven set to the lowest temperature.
Can I make these rolls vegan?
Yes! To create vegan Homemade Handmade Sub Rolls, replace the large eggs with a flax egg (1 tablespoon of ground flaxseed mixed with 2.5 tablespoons of water), and use a dairy-free milk and vegan butter. They’ll be just as fluffy and delightful!
How long will these rolls last in the fridge or freezer?
In the fridge, Homemade Handmade Sub Rolls will last up to 5 days when stored properly. For freezing, they can be kept for up to 3 months. Just remember to wrap them well to maintain their moisture!
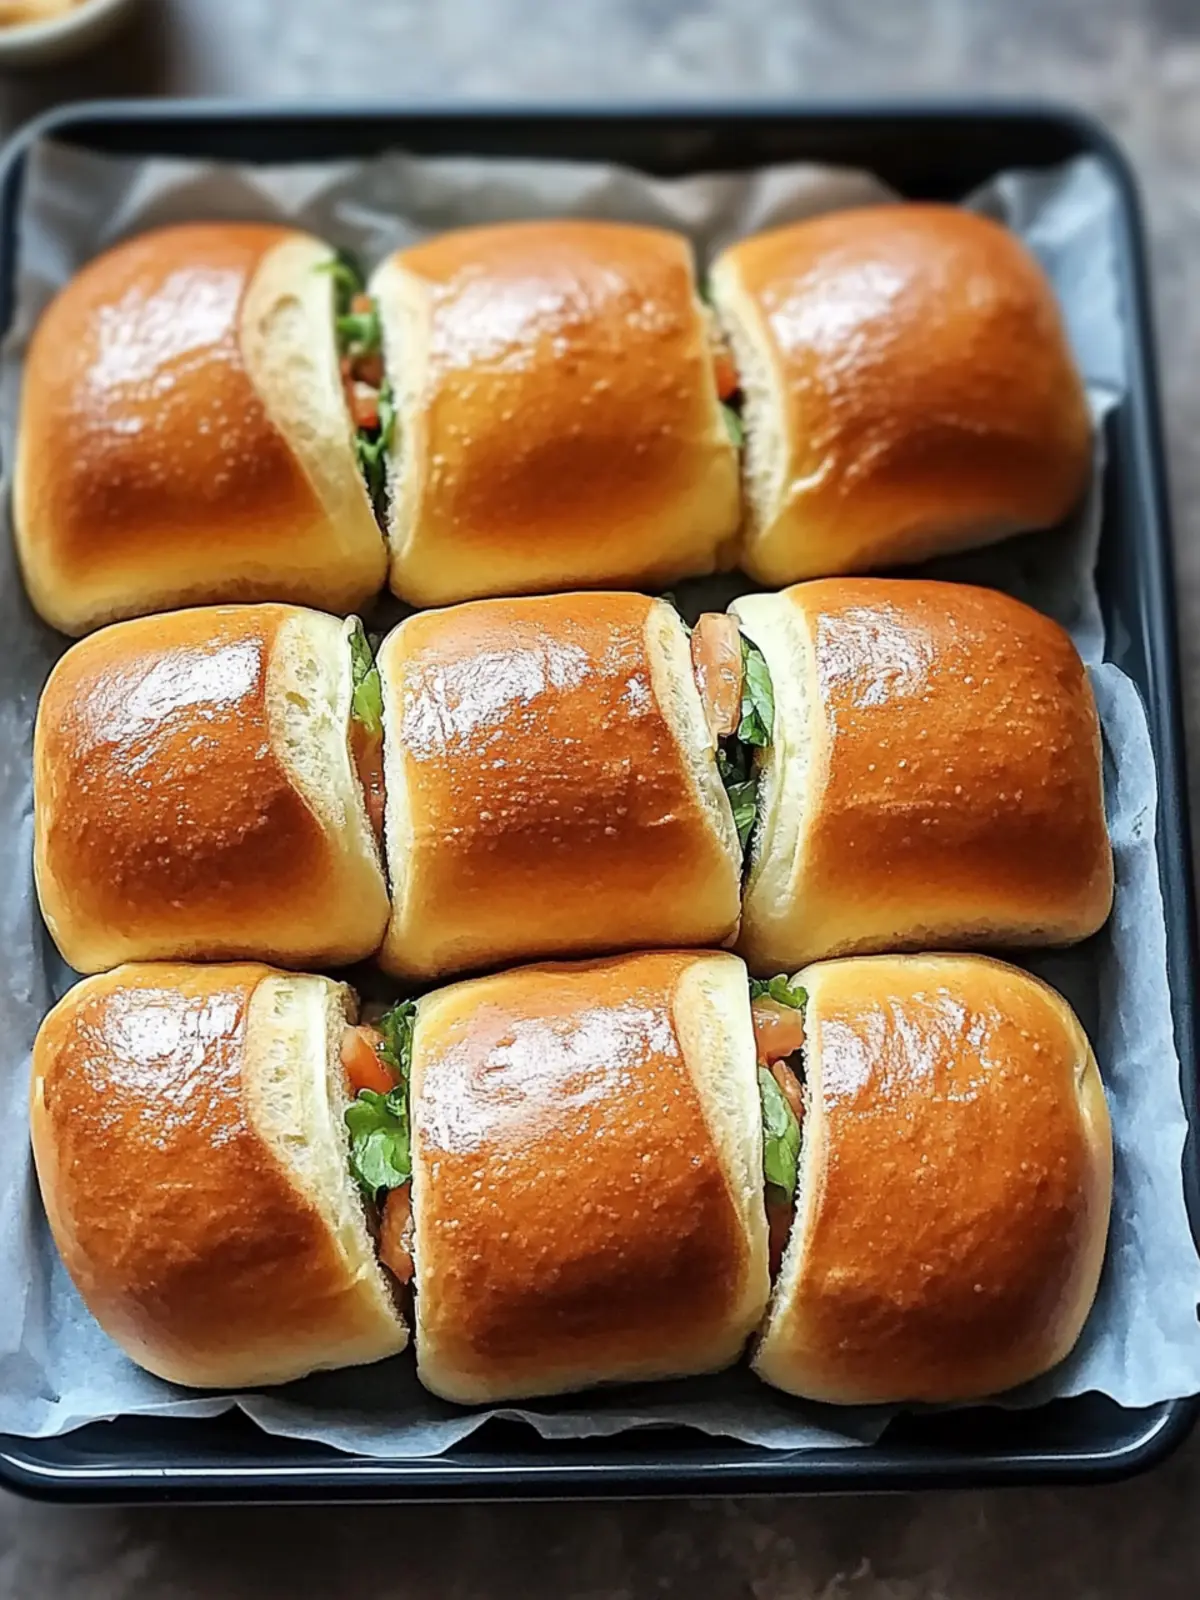
Homemade Handmade Sub Rolls: Fluffy Perfection for Any Filling
Ingredients
Equipment
Method
- Bloom the Yeast: In a medium bowl, combine warm milk, sugar, and active dry yeast. Stir gently and let it sit for about 5-10 minutes, until it becomes frothy and bubbly.
- Mix Dough: In a large mixing bowl, whisk together the bread flour and fine sea salt. Pour in the yeasty milk mixture along with beaten large eggs, mixing until a shaggy dough forms.
- Incorporate Butter: Add the cold, cubed unsalted butter to the dough. Knead by hand or use a mixer fitted with a dough hook for about 8-10 minutes, until the dough is smooth and elastic.
- First Rise: Shape the dough into a ball and place it in a greased bowl. Cover with a kitchen towel and let it rise in a warm environment until it doubles in size, approximately 1 hour.
- Divide and Shape: Gently punch down the risen dough to release air. Divide it into six equal pieces and shape each piece into elongated rolls to form your sub shape.
- Second Rise: Arrange the shaped rolls on a lined baking sheet, cover lightly with a towel, and let them rise for another 30 minutes until puffy.
- Prepare for Baking: Preheat your oven to 400°F (200°C). Brush the tops of the rolls with egg wash, making sure to coat them well. Using a sharp knife, make a few diagonal slashes on the top of each roll.
- Bake: Place the baking sheet in the oven and bake for about 15 minutes, or until the rolls are golden brown and sound hollow when tapped on the bottom.
- Cool: Once baked, transfer the rolls to a wire rack to cool completely before slicing or filling with your favorite ingredients.