
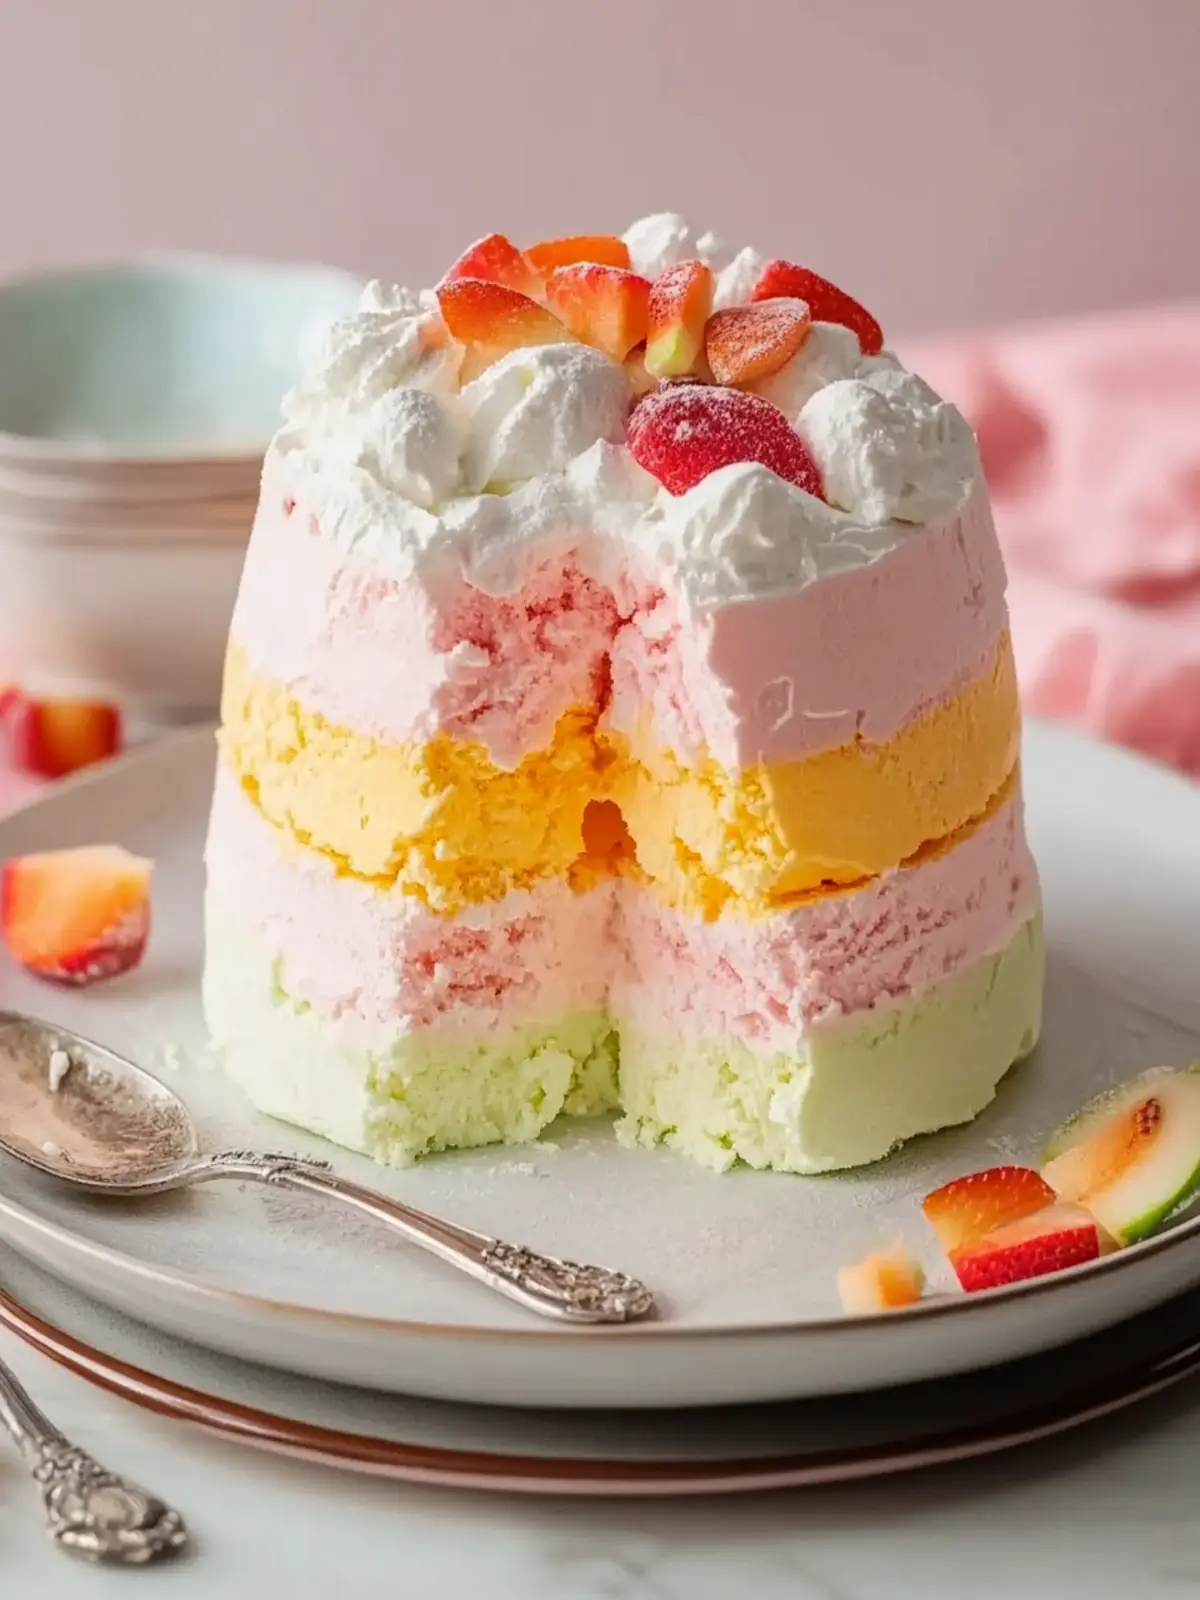
The sun is shining, and the heat is intensifying, making it the perfect time to indulge in a refreshing treat. That’s when my mind drifts to my go-to Layered Sherbet Dessert. The vibrant colors of rainbow sherbet layered with fluffy whipped topping create an irresistible masterpiece that not only looks stunning but also tastes heavenly.
This no-bake delight has become a crowd favorite at family gatherings and summer parties alike, transforming simple ingredients into a show-stopping dessert that everyone raves about. With its ice-cold, fruity flavors and creamy layers, every bite is a nostalgic reminder of carefree summer days. The best part? It’s incredibly easy to make ahead, allowing you to spend more time enjoying the company of friends and family instead of sweating it out in the kitchen.
Ready to impress your loved ones with this lively, customizable dessert? Let’s dive into the layers of joy, flavor, and convenience that this Layered Sherbet Dessert promises!
Why is Layered Sherbet Dessert a must-try?
Effortless Preparation: This no-bake dessert means you can whip it up with just a few simple steps, making it perfect for all skill levels.
Vibrant Colors: Each layer of sherbet presents a rainbow of colors that are sure to impress your guests and elevate any occasion.
Customizable Flavors: Feel free to experiment with different sherbet flavors or toppings to match seasonal themes or personal preferences.
Light and Refreshing: The fruity, creamy combination offers a guilt-free indulgence that satisfies sweet cravings without the heaviness of typical desserts.
Crowd-Pleasing Appeal: Whether it’s a barbecue or a birthday, this dessert is sure to be a hit, delighting everyone from kids to adults.
Make-Ahead Convenience: Prepare it in advance to save time and enjoy effortless entertaining. Consider adding a side of fresh fruit or mint garnish for an extra touch!
Layered Sherbet Dessert Ingredients
For the Crust
- Crushed Graham Crackers – Provides a slightly crunchy base; consider gluten-free graham crackers for dietary needs.
- Butter – Binds the crust and adds richness; stick to butter for best results.
- Sugar – Enhances sweetness for the crust; adjust sugar levels for a more dietary-friendly option.
For the Cream Layer
- Cream Cheese – Adds a rich and tangy flavor; low-fat cream cheese works for a lighter version.
- Whipped Topping – Creates a light and creamy texture; try reduced-fat whipped topping for a lighter option.
- Milk – Helps achieve a spreadable filling consistency; use dairy or non-dairy milk as preferred.
For the Sherbet Layers
- Rainbow Sherbet – Provides fruity flavor and vibrant colors; fruit sorbet (like orange, raspberry, lime) can be used for distinct layers or ice cream for a richer dessert.
Now that you have all the ingredients for this delicious Layered Sherbet Dessert, you’re one step closer to creating a treat that’s not just a dessert, but a joyful experience filled with flavor and nostalgia!
How to Make Layered Sherbet Dessert
-
Prepare Crust: Start by mixing the crushed graham crackers, melted butter, and sugar in a bowl. Press this mixture firmly into the bottom of a 9×9-inch dish to form a nice, even crust.
-
Make Cream Layer: In a mixing bowl, beat the cream cheese until smooth, then gradually add the powdered sugar. Gently fold in the whipped topping until fully combined and fluffy.
-
Layer Sherbet: Spoon a layer of rainbow sherbet over the crust, gently spreading it evenly. Follow this with a layer of your cream mixture. Repeat the layers of sherbet and cream until the dish is filled.
-
Freeze: Cover and place the dessert in the freezer for about 4-6 hours, or overnight if you want the layers to set perfectly.
-
Serve: To slice the dessert, use a warm knife, wiping it clean between cuts for neat, attractive pieces.
Optional: Garnish with fresh berries or mint leaves for a pop of color.
Exact quantities are listed in the recipe card below.

What to Serve with Layered Sherbet Dessert?
This delightful treat deserves companions that enhance its refreshing flavors and vibrant appeal.
-
Fresh Fruit Salad: Bright and fruity, a mix of berries and melons provides a refreshing contrast that complements the sherbet’s sweetness.
-
Mint Garnish: A sprinkle of fresh mint leaves adds a touch of elegance and a burst of freshness, making each bite feel extra special.
-
Citrus Slices: Juicy orange or tangy lime slices elevate the fruitiness, providing a zesty contrast to the creamy layers while brightening up the presentation.
-
Chocolate Sauce: Drizzling a bit of chocolate syrup adds a sweet and rich element, perfect for those who love the combination of creamy and chocolaty flavors.
-
Sparkling Water: A chilled glass of sparkling water or lemonade offers a refreshing sip that cleanses the palate between each vibrant layer.
-
Mini Cheesecakes: Light and creamy mini cheesecakes enhance the indulgence, creating a delightful dessert pairing for gatherings or special celebrations.
Elevate your dessert experience by serving these delightful sides alongside your Layered Sherbet Dessert, turning your treat into a completely satisfying meal!
Expert Tips for Layered Sherbet Dessert
- Firm Layers: Allow each layer of sherbet to firm up slightly before adding the next. This keeps the distinct layers visible and appealing.
- Smooth Finish: Use a spatula dipped in warm water to smooth out the cream layer for a clean, professional look.
- Avoid Over-Melting: Be cautious not to let the sherbet melt too much, as this can result in blended layers that lose their vibrant separation.
- Storage Solutions: Store any leftovers in a tightly sealed, freezer-safe container to maintain the texture and flavor of your Layered Sherbet Dessert.
- Slicing Technique: Always use a sharp knife for slicing. Cleaning the knife between cuts ensures neat, beautiful pieces that present well.
Layered Sherbet Dessert Variations
Feel free to let your creativity shine as you customize this delightful treat for any occasion!
- Fruit Sorbet: Swap out rainbow sherbet for your favorite fruit sorbet to create distinct, flavorful layers. Each bite will offer a surprise twist!
- Chocolate Drizzle: Elevate flavors by adding a drizzle of chocolate syrup between layers for a rich, indulgent touch. It adds a delightful contrast to the fruity layers.
- Cookie Crumbles: Incorporate crushed cookies like Oreos or chocolate chips into each layer for added texture and a touch of sweetness. The crunch will complement the creamy filling beautifully.
- Nutty Crunch: Add toasted nuts, such as almonds or walnuts, between the layers for a delightful crunch that enhances both flavor and texture.
- Seasonal Flavors: Customize the sherbet for any season—choose pumpkin spice for fall or peppermint for winter festivities. Your dessert can celebrate every occasion!
- Lower Sugar: Substitute sugar with a sweetener like honey or maple syrup for a lower sugar option, perfect for health-conscious dessert lovers.
- Vegan Delight: Use coconut whipped topping and dairy-free cream cheese to make this dessert vegan without sacrificing creaminess. It’s a lovely option for plant-based gatherings!
- Spicy Kick: Add a pinch of cayenne or chili powder into the cream mixture for a surprising kick that contrasts with the sweetness, creating a flavor explosion!
Storage Tips for Layered Sherbet Dessert
Room Temperature: Keep the dessert at room temperature for no longer than 15 minutes before serving to allow it to soften slightly for easy slicing.
Fridge: If you have leftovers, store them in an airtight container in the fridge for up to 3 days, but note that texture may change slightly.
Freezer: For longer storage, wrap the Layered Sherbet Dessert tightly in plastic wrap and foil, keeping it in the freezer for up to 2 months.
Reheating: Simply let the dessert soften in the fridge for 30 minutes before cutting and serving, ideal for maintaining the beautiful layered appearance.
Make Ahead Options
Need a stress-free way to enjoy your Layered Sherbet Dessert? This recipe is perfect for meal prep! You can assemble the entire dessert up to 24 hours in advance; simply cover it tightly in the freezer to maintain its fresh flavors. For best results, allow each layer of sherbet to firm up before adding the cream mixture (this prevents blending and keeps those vibrant layers intact). When you’re ready to serve, just take it out of the freezer and let it soften for a few minutes. Then slice with a warm knife for beautifully clean cuts. Your guests will love this delightful frozen treat, and you’ll appreciate the time saved!

Layered Sherbet Dessert Recipe FAQs
How do I choose the right sherbet for my Layered Sherbet Dessert?
Absolutely! For the best flavor and visual appeal, select high-quality rainbow sherbet that showcases a variety of colors and fruity flavors. Look for bright, vibrant hues and avoid sherbets with dark spots or an icy texture. If you wish for a unique twist, consider swapping for fruit sorbet or a rich ice cream to create distinct layers based on your preference.
What’s the best way to store my Layered Sherbet Dessert?
I recommend storing any leftovers in an airtight container in the freezer for up to 3 months. Make sure to wrap it tightly in plastic wrap or foil to prevent freezer burn. If you want to serve some later, let it sit at room temperature for about 10-15 minutes before slicing to make cutting easier.
Can I freeze the Layered Sherbet Dessert?
Yes! In fact, this dessert is perfect for freezing. After assembling, just ensure it’s tightly covered and place it in the freezer for about 4-6 hours or preferably overnight, until it’s fully set. It keeps well frozen and can maintain its delicious texture when properly stored.
What if my sherbet melts while making the dessert?
Very! If your sherbet starts to melt, quickly place it back in the freezer briefly. When layering, make sure to work swiftly. If layers blend, the dessert will still taste great but may lose the beautiful, distinct layers. To prevent melting, keep your utensils and surfaces cool and work in a chilled environment when possible.
Are there any dietary considerations for the Layered Sherbet Dessert?
Absolutely! This dessert can be made gluten-free by using gluten-free graham crackers. Additionally, those who are lactose intolerant can substitute cream cheese and whipped topping with dairy-free versions. Always check for any specific allergy concerns regarding the ingredients you choose, such as nuts or artificial flavors.
How long can the Layered Sherbet Dessert stay in the refrigerator once made?
This delectable dessert can be stored in the fridge for up to 3 days. The layers may start to lose their firmness, but it still offers a refreshing taste. To maintain its best texture, I suggest consuming it within the first day or two after layered and frozen. Enjoy your treat!
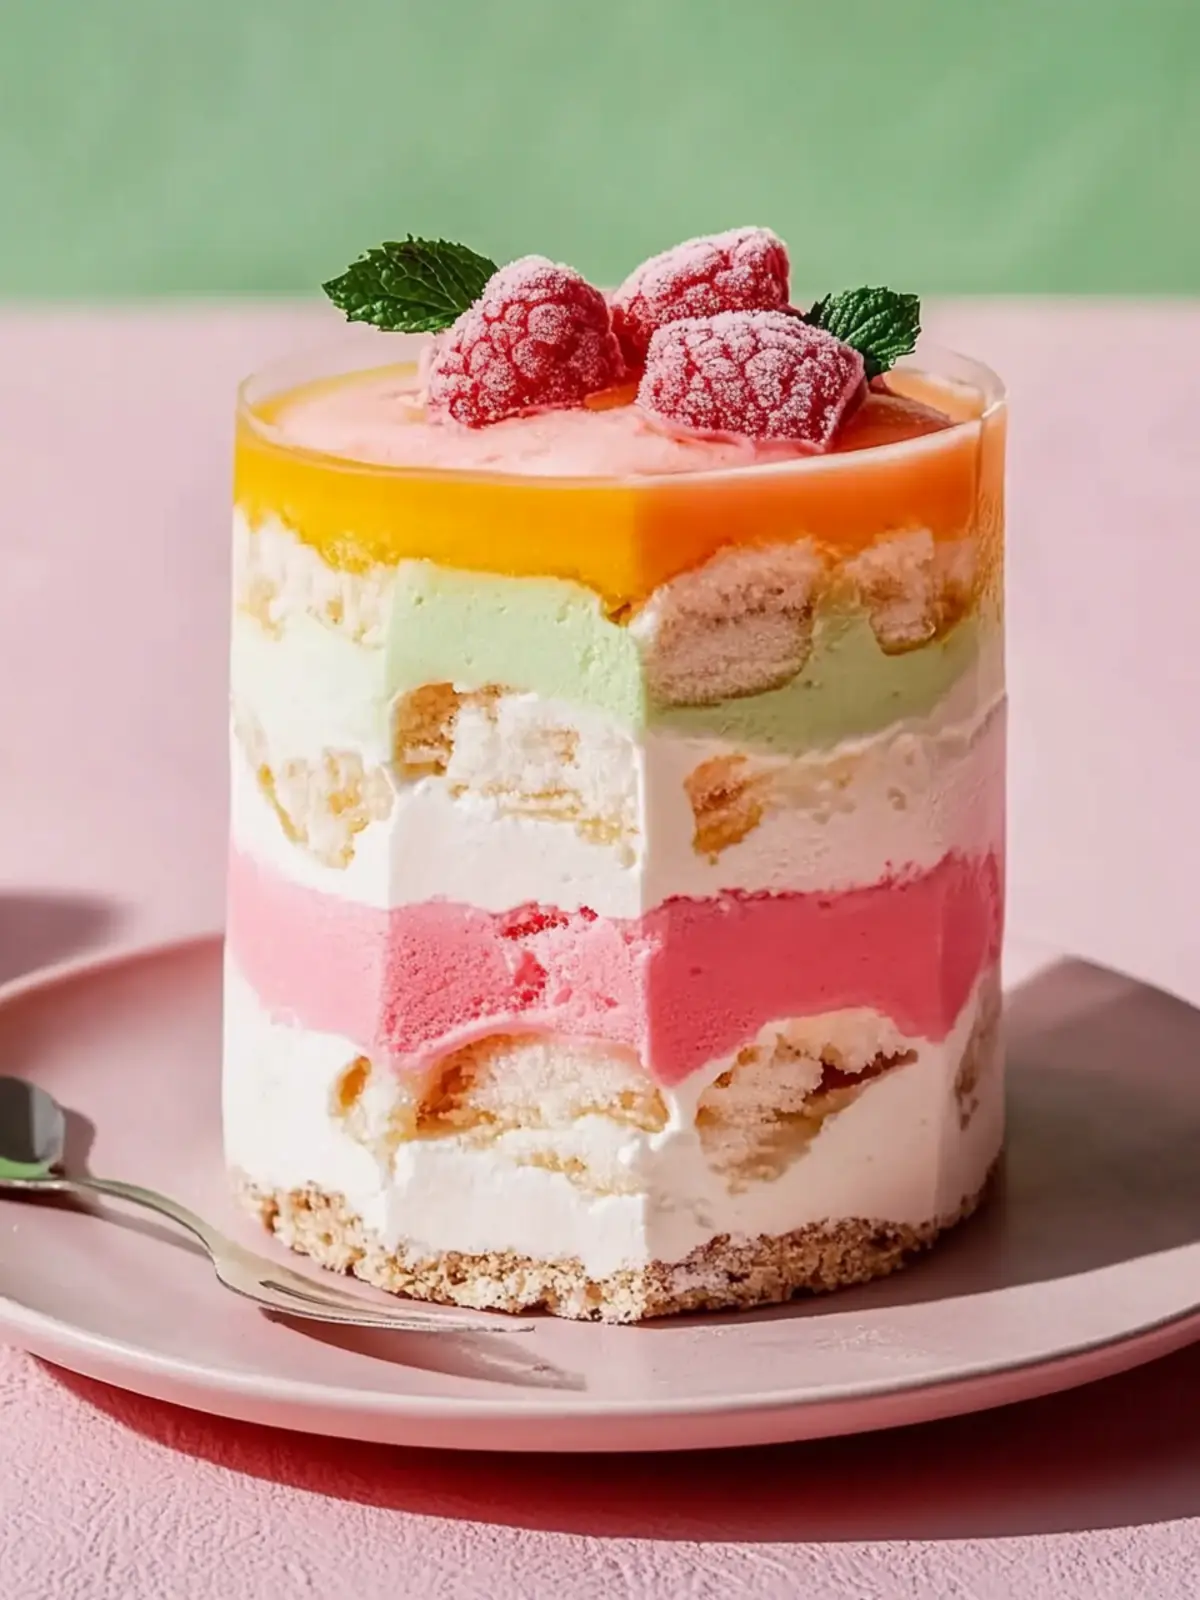
Layered Sherbet Dessert: Your Ultimate No-Bake Summer Delight
Ingredients
Equipment
Method
- Prepare Crust: Mix the crushed graham crackers, melted butter, and sugar in a bowl. Press this mixture firmly into the bottom of a 9x9-inch dish to form a nice, even crust.
- Make Cream Layer: In a mixing bowl, beat the cream cheese until smooth, then gradually add the powdered sugar. Gently fold in the whipped topping until fully combined and fluffy.
- Layer Sherbet: Spoon a layer of rainbow sherbet over the crust, gently spreading it evenly. Follow this with a layer of your cream mixture. Repeat the layers of sherbet and cream until the dish is filled.
- Freeze: Cover and place the dessert in the freezer for about 4-6 hours, or overnight if you want the layers to set perfectly.
- Serve: To slice the dessert, use a warm knife, wiping it clean between cuts for neat, attractive pieces.