
There’s a certain joy that comes with preparing a treat that melds tradition with a modern twist. While browsing my local market recently, the vibrant hue of matcha caught my eye—a reminder of the delicate, chewy mochi I adored from a lovely little Japanese café. Inspired, I decided to whip up my own version, blending the earthy richness of matcha into a creamy filling tucked within an irresistibly soft dough.
This Matcha Mochi recipe is not just a nod to Japanese cuisine; it’s a delightful and refreshing option for anyone yearning to step away from fast food. Each bite offers a melodious blend of flavors and textures that are sure to impress—even if you’re simply enjoying them on a cozy afternoon. Perfect for gatherings or a sweet reward after a long day, this treat is a satisfying escape into the world of homemade desserts. So, roll up your sleeves as we create these creamy Matcha Mochi treats that will have everyone asking for seconds!
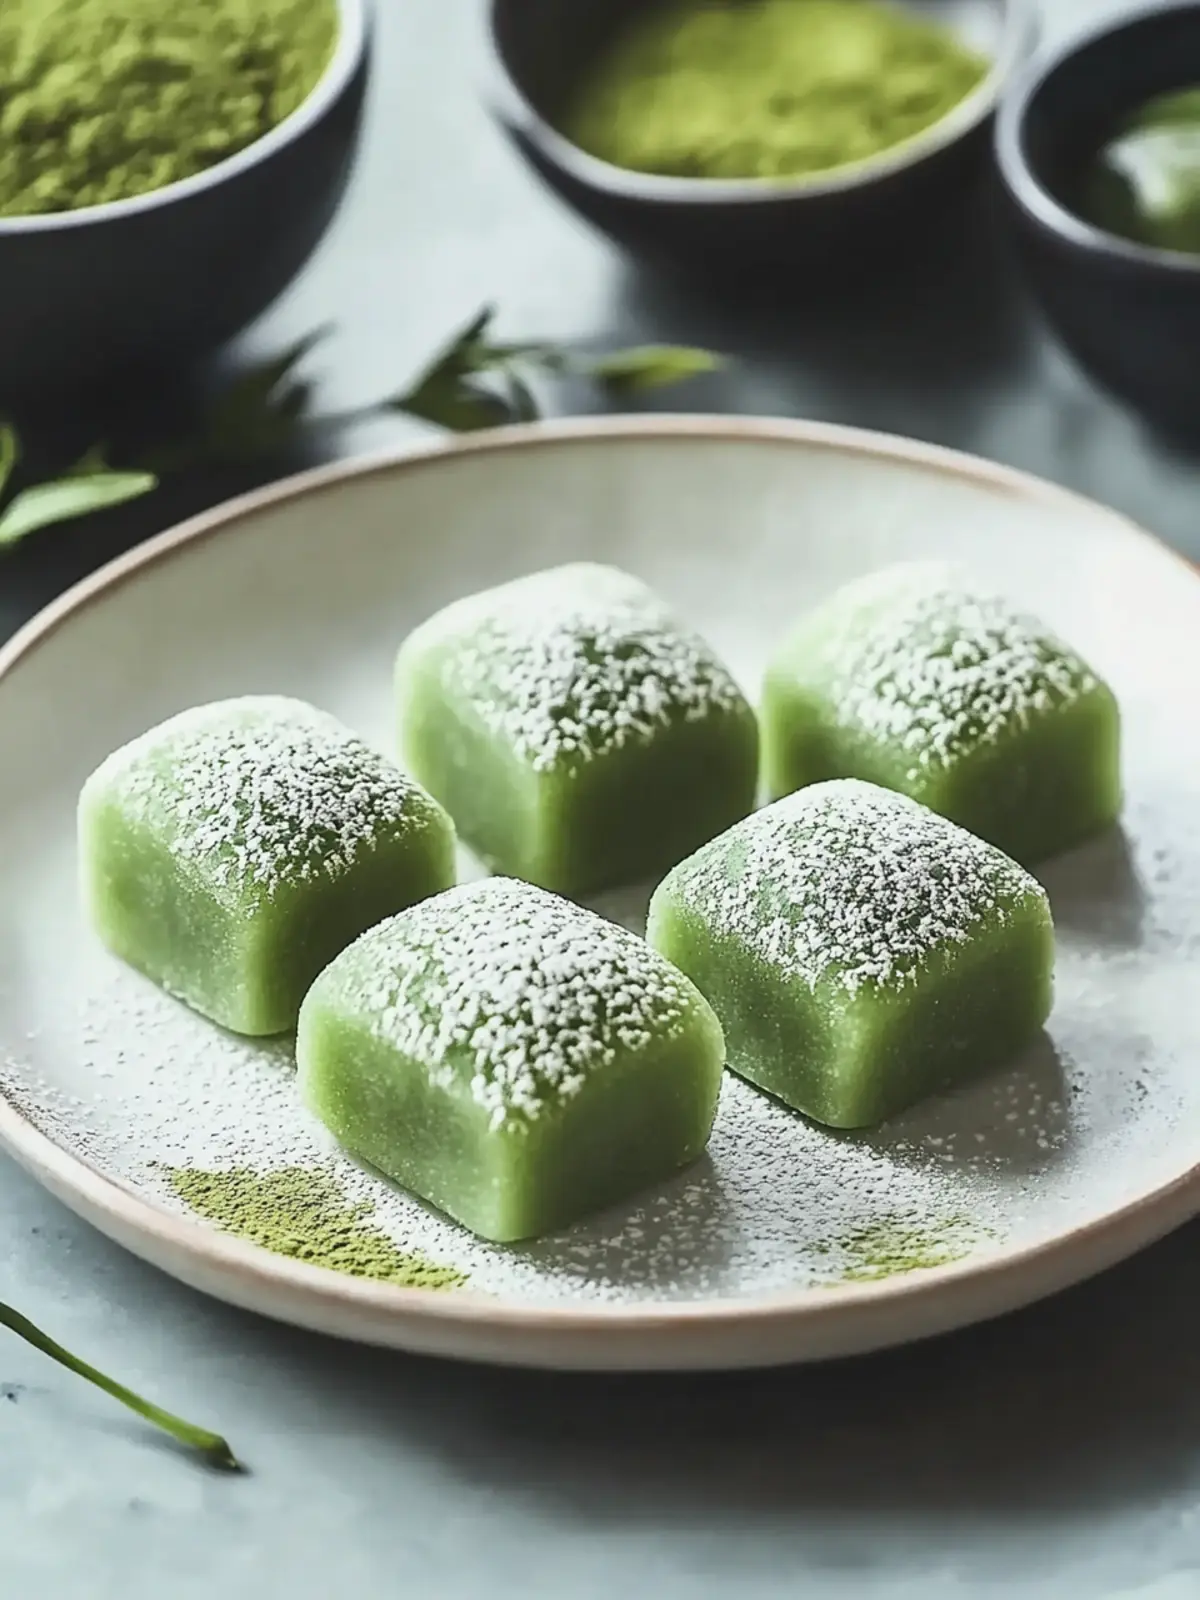
Why will you love Matcha Mochi?
Creamy, Luxurious Filling: The rich cream cheese and matcha blend create a decadent treat that tingles the taste buds.
Gluten-Free Delight: Enjoy a traditional dessert with a gluten-free option, perfect for those with dietary restrictions.
Quick and Easy: With a simple process and minimal ingredients, even beginners can master this recipe with confidence!
Versatile Flavor: Feel free to experiment with different fillings or flavors; the dough is a blank canvas for your creativity!
Crowd-Pleaser: Bring these treats to your next gathering, and watch as they quickly disappear—everyone loves a unique homemade dessert!
Learn More: For those seeking even more delightful options, check out my guide on creative mochi variations!
Matcha Mochi Ingredients
• Here’s everything you need to create these delightful treats.
For the Filling
- Matcha Powder – 8 g – The star ingredient that adds a unique earthy flavor and a stunning green color; make sure to use ceremonial grade for the best impact.
- Whipping Cream – 150 g – This lends a rich, creamy base that beautifully complements the matcha; coconut cream is a great substitute for a dairy-free option.
- Cream Cheese – 200 g – Offers a delightful tanginess and smooth texture to the filling; feel free to use vegan cream cheese for a dairy-free alternative.
- White Sugar – 30 g – Balances the savory notes of cream cheese and enhances sweetness; adjust according to your taste preference.
For the Dough
- Glutinous Rice Flour – 90 g – Essential for that wonderfully chewy texture characteristic of delicious Matcha Mochi; if gluten-sensitive, look for gluten-free alternatives.
- Corn Starch – 20 g – This improves the texture of the dough, making it more elastic; potato starch can be used as a replacement if needed.
- Milk – 160 g – Provides moisture and helps bind the ingredients together; any plant-based milk works for a dairy-free option.
- Butter – 15 g – Adds richness to the mochi; opt for vegan butter to keep it dairy-free.
With these ingredients at hand, you’re well on your way to creating the creamy indulgence of Matcha Mochi that everyone will rave about! Enjoy the process and let your creativity shine!
How to Make Matcha Mochi
-
Prepare Filling: In a mixing bowl, whisk together the matcha powder and whipping cream until fully combined. The vibrant green should be smooth with no lumps remaining.
-
Mix Cream Cheese: In another bowl, blend the cream cheese with sugar until you reach a smooth and creamy consistency. This tangy mixture will enrich your filling beautifully.
-
Combine: Gently fold the matcha mixture into the cream cheese mixture. You want to create a rich green filling that is well-blended and velvety.
-
Freeze Filling: Pour the mixture into molds or a lined dish and place it in the freezer for about 1 hour or until it’s firm to the touch.
-
Prepare Mochi Dough: In a separate bowl, mix the glutinous rice flour, corn starch, sugar, and milk until everything is thoroughly combined into a smooth batter.
-
Sift Mixture: Sift the mochi mixture through a fine mesh strainer twice to ensure a silky texture. This step helps eliminate any clumps for a more refined dough.
-
Micro-cook Dough: Cover the bowl with plastic wrap that has small holes to allow steam to escape, then microwave for approximately 3 minutes or until cooked through.
-
Incorporate Butter: Once the dough is cool enough to handle, mix in the butter by kneading until the mixture is smooth and elastic, roughly 5 minutes.
-
Shape Mochi: Divide the dough into 6 equal portions. Roll each piece into a disc and place a piece of the frozen matcha filling in the center.
-
Seal and Smooth: Pinch the edges of the dough to seal the filling inside and roll gently between your palms to achieve a smooth finish.
-
Garnish: Lightly dust the finished mochi treats with matcha powder for an elegant touch that enhances both the look and flavor.
Optional: Serve with a side of sweetened condensed milk for an extra flavor boost!
Exact quantities are listed in the recipe card below.

Make Ahead Options
These Matcha Mochi treats are perfect for meal prep enthusiasts! You can prepare the filling (matcha and cream mixture) up to 24 hours in advance and store it in an airtight container in the refrigerator. Additionally, you can cook the mochi dough up to 3 days ahead and keep it in the fridge, wrapped tightly in plastic wrap to prevent drying out. When you’re ready to serve, simply fill the prepped dough with your frozen filling and seal it as directed. This approach saves you time during busy weeknights while ensuring your Matcha Mochi are just as delicious and fresh!
What to Serve with Matcha Mochi?
Enhance your dessert experience with these delightful pairings that complement the unique flavors of matcha.
- Hot Green Tea: A warm cup of delicate green tea balances the sweetness of the mochi while echoing its matcha flavor profile.
- Fresh Fruits: Pair with vibrant seasonal fruits like strawberries or mango for a refreshing contrast that brightens every bite!
- Sweetened Condensed Milk: Drizzling this creaminess adds an indulgent touch and enhances the mochi’s rich filling. Perfect for a flavor boost!
- Coconut Ice Cream: The creamy, tropical notes of coconut ice cream create a luscious combination, perfect for hot days and cozy nights alike.
- Dark Chocolate Sauce: A rich drizzle elevates matcha’s earthy tones, creating a playful flavor dance that will make your taste buds sing.
- Lychee Sorbet: This fruity sorbet brings a refreshing burst, balancing the dense texture of the mochi and making for a simple yet elegant pairing.
- Matcha Latte: For matcha enthusiasts, a creamy matcha latte enhances the experience—with its comforting warmth and familiar notes.
- Boba Tea: Enjoying these mochi with a glass of boba tea creates a fun texture combination that kids and adults will love!
- Sesame Cookies: The nutty flavor of sesame cookies provides a delightful crunch, balancing the soft and creamy elements of your dessert.
Expert Tips for Matcha Mochi
-
Use Quality Matcha: Choose high-quality, ceremonial grade matcha for the best flavor and color in your Matcha Mochi.
-
Sift for Smoothness: Always sift the matcha powder before mixing to avoid lumps in your filling for a perfectly creamy texture.
-
Avoid Sticky Dough: Dust your hands and work surfaces with cornstarch if the mochi dough is too sticky, ensuring easy handling.
-
Cool Before Sealing: Allow the filling to cool completely before sealing it in dough to prevent any mixing or melting during the process.
-
Garnish for Flair: Don’t forget to sprinkle matcha powder over your finished mochi for an attractive presentation and a flavor boost!
Matcha Mochi Variations
Feel free to explore these delightful twists and substitutions to make your Matcha Mochi uniquely yours!
-
Dairy-Free: Substitute all creamy components with coconut cream and vegan cream cheese for a deliciously rich option that everyone can enjoy.
-
Fruity Finish: Add a spoonful of fruit puree, like raspberry or mango, to the filling for a refreshing burst of flavor that pairs beautifully with matcha.
-
Nutty Crunch: Incorporate crushed nuts, such as almonds or pistachios, into the dough for added texture and a delightful nutty flavor.
-
Chocolate Lovers: Mix in cocoa powder to the mochi dough for a mismatched tropical thrill that’ll mingle wonderfully with the matcha’s earthiness.
-
Sweet Spice: Sprinkle in a bit of cinnamon or cardamom in the filling for warming undertones that create a unique flavor profile perfect for cozy seasons.
-
Additional Sweetness: Serve your mochi with a drizzle of sweetened condensed milk on the side for those who crave an extra touch of indulgence.
-
Matcha Boost: For an intense green tea experience, simply increase the matcha powder in the filling for a deeper flavor punch that true fans will adore.
-
Savory Twist: Experiment with savory fillings like sesame or red bean paste to give a unique Asian twist to each delightful bite!
Let your creativity shine as you make this delectable treat your own!
How to Store and Freeze Matcha Mochi
Fridge: Store your Matcha Mochi in an airtight container for up to 3 days. This will keep them fresh and prevent them from drying out.
Freezer: For longer storage, freeze the mochi for up to 2 months. Ensure each piece is individually wrapped to prevent freezer burn and preserve their delightful flavor.
Thawing: When ready to enjoy, simply thaw at room temperature for 15-20 minutes before serving. This helps restore their soft and chewy texture.
Reheating: If you prefer a warm treat, microwave the mochi for about 10-15 seconds, but watch carefully to avoid overheating!

Matcha Mochi Recipe FAQs
What kind of matcha powder should I use for Matcha Mochi?
Absolutely! For the best flavor and color, always opt for high-quality, ceremonial grade matcha powder. Regular culinary matcha can work in a pinch, but it won’t give you that rich green hue or the same depth of flavor, which is essential for a truly delightful Matcha Mochi experience.
How should I store my Matcha Mochi?
Very important! Store your Matcha Mochi in an airtight container in the fridge for up to 3 days. This helps to keep them fresh and prevents drying. If you want them to last longer, you can freeze them for up to 2 months—just ensure they are individually wrapped to avoid freezer burn!
Can I freeze Matcha Mochi?
Absolutely! Freezing Matcha Mochi is a wonderful way to preserve them. After shaping and sealing your mochi, place them on a parchment-lined baking sheet until they are frozen solid. Once frozen, transfer them to an airtight container or zip-top bag. This method retains their delicious flavors and chewy texture for up to 2 months.
What if my mochi dough is too sticky?
Not to worry! If you find that your mochi dough is too sticky to handle, simply dust your hands and work surface with cornstarch. This will make it easier to manipulate. Remember, a bit of stickiness is normal, but don’t hesitate to add cornstarch gradually to achieve a more manageable texture.
Can I make this recipe dairy-free?
Very much so! To make your Matcha Mochi dairy-free, you can substitute the whipping cream with coconut cream and use vegan cream cheese in place of traditional cream cheese. Also, opt for vegan butter when incorporating it into your dough. This way, everyone can enjoy these creamy delights!
Are there any allergies I should be aware of when making Matcha Mochi?
Indeed! Be mindful that traditional mochi contains glutinous rice flour, which may not be suitable for those with gluten sensitivities. You can look for gluten-free alternatives or specific gluten-free rice flours available on the market. Always double-check your ingredient labels to ensure they align with dietary needs.
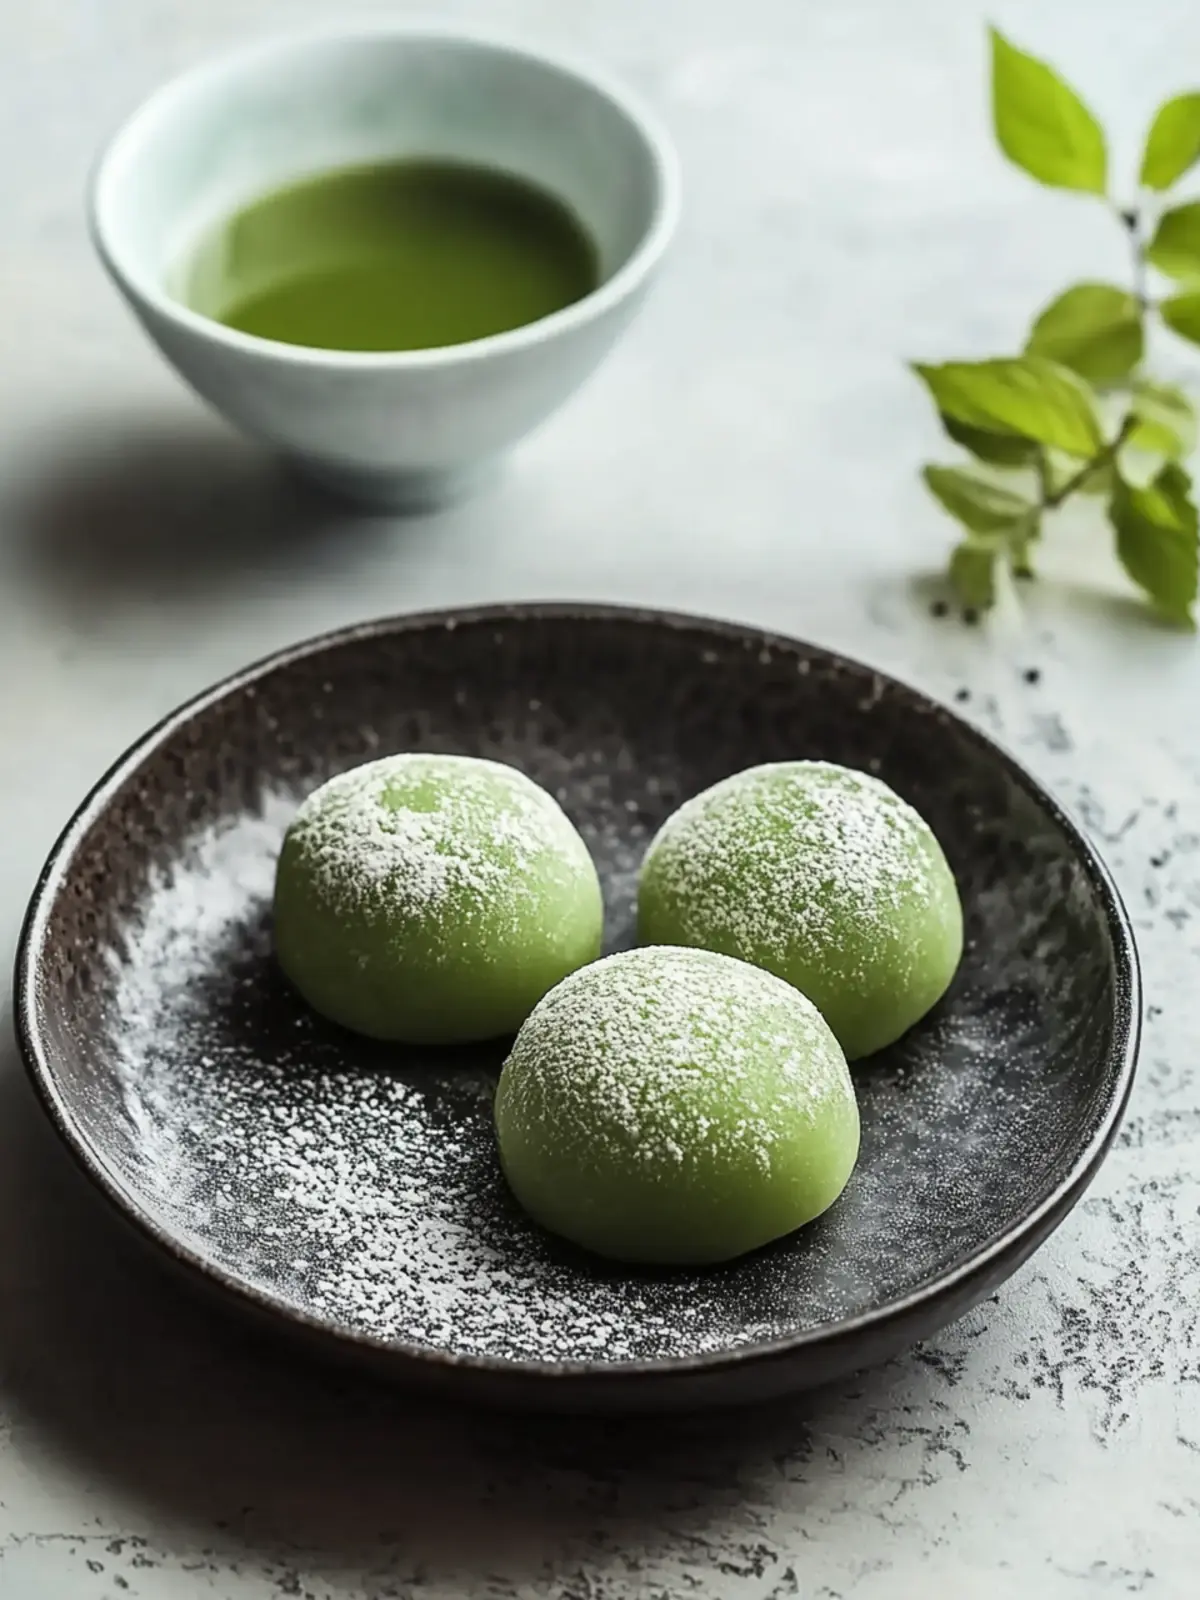
Irresistible Matcha Mochi for a Creamy Dessert Delight
Ingredients
Equipment
Method
- In a mixing bowl, whisk together the matcha powder and whipping cream until fully combined.
- Blend the cream cheese with sugar until you reach a creamy consistency.
- Gently fold the matcha mixture into the cream cheese mixture.
- Pour the mixture into molds and place it in the freezer for about 1 hour.
- Mix the glutinous rice flour, corn starch, sugar, and milk until thoroughly combined.
- Sift the mochi mixture through a fine mesh strainer twice.
- Cover the bowl with plastic wrap and microwave for approximately 3 minutes.
- Once cool, knead in the butter until smooth and elastic.
- Divide the dough into 6 portions and roll each piece into a disc.
- Pinch the edges of the dough to seal the filling inside and achieve a smooth finish.
- Lightly dust the finished mochi treats with matcha powder.